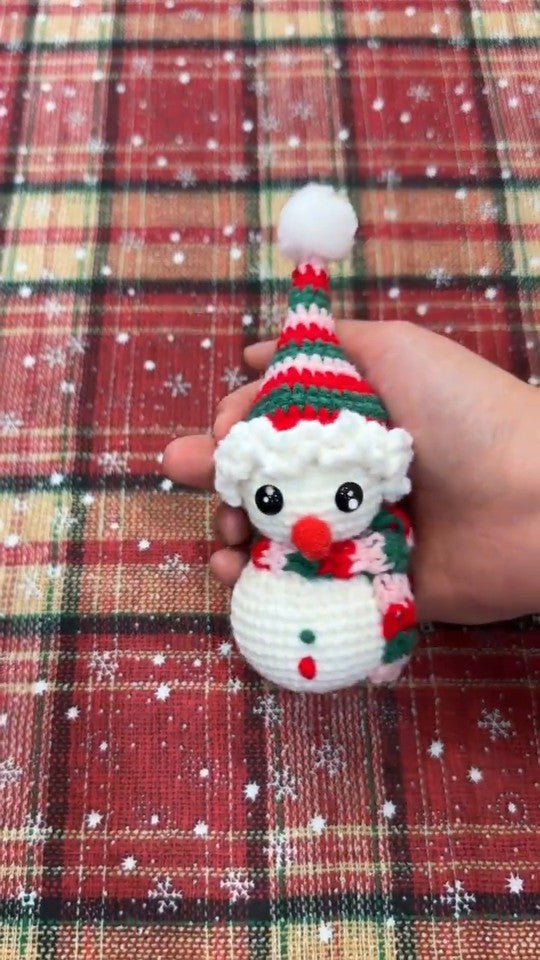
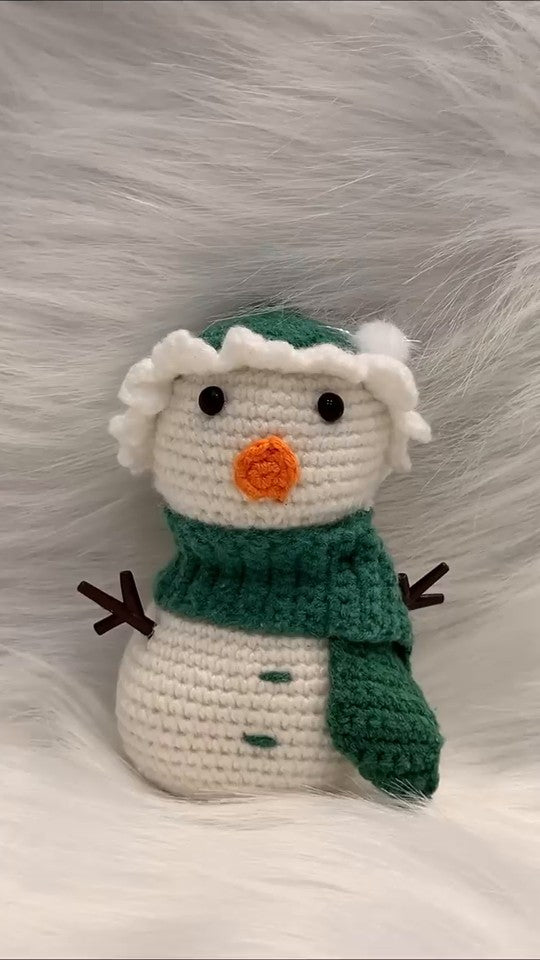
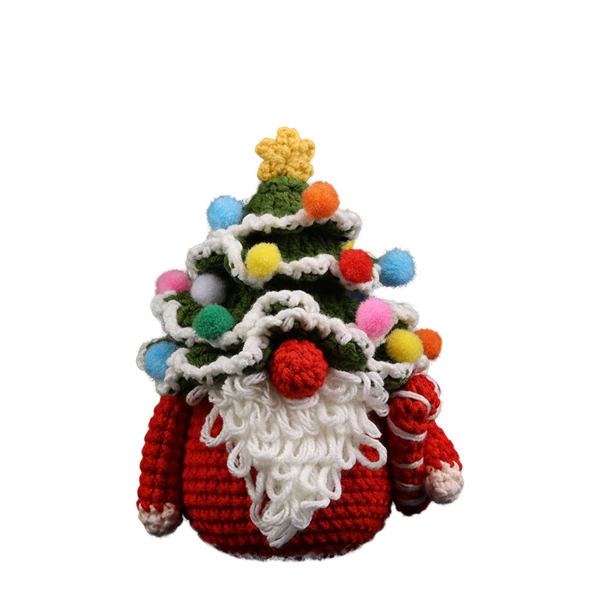
Crochet Snowman Troubleshooting: 6 Beginner Problems and Fixes
A calm guide for the moment your little Christmas friend does not look quite as expected.
Your stitch count is one short. The hook will not fit into the next stitch. Or the snowman looks round until you add the filling, then gaps appear.
Before starting again, pause and identify what changed, and when. A count problem, a tension problem and a filling problem need different fixes. Changing the hook, pulling harder and adding more stuffing all at once makes it difficult to tell what helped.
This guide is for beginners making a crochet snowman or another small Christmas amigurumi. Keep your own pattern beside you: its stitch totals, shaping, joining method and assembly order take priority. The checks below help you find the problem; they are not a replacement snowman pattern.
Find your starting point
| What you notice | Check first | First action |
|---|---|---|
| The round has too many or too few stitches | Round boundary and repeated instructions | Recount from a confirmed marker |
| The hook is difficult to insert | Tension, hook marking and insertion point | Check a few stitches on a practice piece |
| Filling shows between stitches | Whether gaps existed before filling | Ease out some filling and compare |
| The body looks flat, wavy or unexpectedly narrow | Current stage and shaping rounds | Compare the count with the pattern |
| The body feels lumpy or slumps | How filling is distributed | Redistribute small amounts before closing |
| The face, hat or head looks crooked | Placement and attachment tension | Check the front and side before securing |
A useful order: check the instructions, confirm the count, inspect the fabric, then assess filling and assembly. A scarf can wait until you know the body underneath it is right.
1. My stitch count does not match
A missing stitch can affect the shaping of a small snowman. First, make sure you are counting the correct round. In continuous rounds, the work spirals without a joined end; in joined rounds, the pattern explains how to join and whether a starting chain counts as a stitch.
What to check
- Find the last confirmed round boundary. If your marker identifies the first stitch, count that stitch once and stop before counting it again.
- Count the completed stitch tops around the round. For ordinary single crochet, each complete top “V” represents one stitch. The working loop on the hook is not an extra completed stitch.
- Read the whole repeat, including the instruction outside the brackets. Check that you repeated it the required number of times.
- Compare the total with the number stated for this exact round, rather than the previous one.
If the total is still wrong, return to the last round whose count you can confirm and rework the affected section. For a beginner, this is usually easier to follow than inserting an unplanned increase or decrease later. A correct total in the next round would not necessarily repair misplaced shaping below it.
Example, not a snowman instruction: if a practice round begins with 12 stitches and says “(sc, inc) 6 times”, each repeat uses two existing stitches and makes three new ones. Six repeats produce 18 stitches. An increase means working the specified stitches into the same base stitch; it does not mean skipping ahead.
Move your marker as the pattern directs and confirm the total before continuing. Counting and being willing to undo an incorrect section are also central advice in Elise Rose Crochet’s guide to amigurumi mistakes.
2. The stitches are so tight that my hook will not go in
Dense fabric is useful for a filled toy, but every stitch should still be workable. If you must force the hook through, stop pulling harder. It can make crocheting uncomfortable and may split or damage the yarn.
Check the hook’s size marking against your pattern. Then look closely at where you are inserting it: are you finding the next stitch, or pushing between strands of yarn? Unless the pattern specifies otherwise, an ordinary single crochet is commonly worked under both top loops.
On a small practice piece, let each new loop sit on the hook’s full shaft rather than tightening it around the narrow tip. Keep your grip relaxed enough for the yarn to feed through. Make several stitches and check whether you can work into them again without forcing the hook.
Do not switch to a larger hook halfway up the snowman simply to make the next round easier. A hook or tension change can alter the size and density of the remaining fabric. If your practice still feels unworkable with the specified hook and yarn, ask for guidance before restarting the project with a different size.

3. I can see stuffing through the fabric
The most useful question is: were the gaps there before you added the stuffing? This separates a fabric issue from fabric that is being stretched by its filling.

If the gaps appear or widen after filling
While the piece is still open, remove a little filling and gently redistribute the rest. Let the fabric relax, then look again. If the gaps shrink, the amount or placement of filling was contributing. Add small amounts back only where the shape needs support.
If gaps are already visible in the unfilled piece
Confirm the yarn, hook size and stitch method against the pattern. Inspect whether you have skipped a stitch or worked into the wrong place. Consistently loose fabric and a single isolated hole need different checks.
For a hole around a decrease, replay the decrease method used in the project tutorial. Skipping a stitch is not the same as working a decrease. If the pattern calls for an invisible decrease, learn that method on a practice piece before using it in the snowman.
A smaller hook can make denser fabric with the same yarn, but it also changes size and yarn use. Test changes separately and confirm they suit the pattern; do not reduce the hook size partway through an otherwise correct body. Squibble’s Crochet Corner also identifies filling, loose tension, stitch formation and hook size as separate possible causes of gaps.
A hat or scarf may cover an area visually, but it will not correct a missed stitch or fabric that cannot contain its filling.
4. The snowman is flat, wavy or the wrong shape
An unfinished body may not resemble the finished photograph yet. Many rounded shapes begin with increasing rounds, continue with rounds that hold the stitch count steady, and become narrower through decreases. Check your current stage before deciding that the shape is wrong.
If a section that should be shaping into a bowl stays flat or becomes wavy, check for extra stitches or extra increase rounds. If it narrows sooner than expected, check for missed stitches, accidental decreases or a skipped instruction. These are possibilities to investigate, not a diagnosis from shape alone.
Read repeated rounds carefully. A direction such as “repeat for the next three rounds” concerns the number of rounds worked, not three repetitions within one round. Keep a separate note of the last completed round and its checked stitch total.
If the counts and round sequence match, compare your work with a photo of the same stage, where available. A final reveal video is less useful for checking an open, unfilled body. Avoid adding increases or using stuffing to force a different silhouette until you know what the pattern intends.
5. The body feels lumpy, floppy or uneven
When the fabric and count are correct but the surface feels uneven, look at the filling before undoing the crochet. A large compressed clump can leave a hard lump beside an empty area.
Before the opening becomes too small, add small, loosened portions of filling. Distribute them into the areas that need support, then gently feel around the outside for hollows and hard spots. Rotate the piece rather than assessing only the front.
If the surface is taut and the stitches spread apart, ease out some filling. If the shape collapses in a place the pattern intends to be rounded, add a little there. The aim is even support that suits the design; a snowman’s body, narrow arm and soft scarf do not necessarily need the same treatment.
Do not assume the finished snowman must stand unsupported unless the design specifies it. A rounded base may naturally need support. If a closed piece needs more adjustment, follow its construction method when reopening it; avoid cutting into the crochet fabric.

6. The face or attached pieces look crooked
A nose slightly to one side gives a snowman a different expression. Before attaching parts permanently, decide which way the body faces and compare placements with the reference for your exact design.
Where the construction allows, use temporary placement to assess the hat, nose, arms or separate head. Look straight on, then from the side. A quick phone photo can help you notice a lean that is harder to see while holding the piece.
If pins are used for positioning, keep track of them and remove every one afterwards. Do not force fitted eyes or their locking backs into place as a trial: follow the pattern’s fitting stage and instructions. Some components cannot be easily repositioned after locking.
During sewing, pause to check alignment and avoid pulling one side of a seam much tighter than the other. If an attached part has shifted, correct that attachment before securing and hiding the yarn end. A scarf can be added after the structure is checked; it should not be needed to hold a poorly attached head in position.

Should I undo it, or keep going?
Undo the affected section when you have confirmed an incorrect stitch count, skipped shaping instructions or the wrong stitch. Return to a point you can identify and count reliably. You usually do not need to unravel the entire project.
Adjust before closing when the count is right and the issue is filling or the position of a separate piece. Check the result before securing the final seam or tail.
Pause and ask when you cannot identify the round, the tutorial does not match the printed instruction, or you are unsure which stitch or component the pattern requires. Guessing through several more rounds makes the original problem harder to locate.
A small difference in expression or a slight variation in surface texture does not automatically need repair. Separate a cosmetic preference from an error that affects construction.
What to send when you need help
For a Forfunly project, contact Forfunly with the design name, current round or step, expected stitch count and your counted total. Add a clear photo of the whole piece and a close-up of the problem with the marker visible. Mention the hook size you are using.
Share order details privately with support. A clear description such as “the count first changes at this round” is more useful than a photo of the finished shape alone.
A little preparation for your next Christmas session
Leave yourself a note before putting the project away: “Round finished and counted; next step is…” Keep the marker in place and secure the working loop. When you return, you can continue from a known point.
If recognising stitches still feels difficult, revisit the first practice square guide. If you are choosing a later holiday project, the Christmas crochet kit guide can help you decide what to check before choosing.
If you are choosing another snowman, the snowman crochet kits page shows the current Forfunly designs side by side.
Your first snowman does not need to match a reveal video frame for frame. Find the next instruction you understand, check that section, and build from there.
Which part of your first crochet toy made you pause: counting the rounds, filling the body, or putting the face together?
FORFUNLY CROCHET JOURNAL · TIPS AND FIXES
What would you like to make next?
- Your First Snowman Crochet Kit: What to Check Before You Start — Organize your tools and materials and check the instructions before the first stitch.
- Crochet Snowman Scarf Ideas: Christmas Colors and a Neat Finish — Plan the colors and check the face, neck and scarf ends before displaying your character.