How to Crochet: Make Your First Practice Square
You do not need to begin with a perfect toy, a complicated blanket, or a basket full of supplies. Begin with a small piece of fabric you can hold, count, and try again. This Forfunly guide takes you from a loose loop of yarn to a simple practice square, with checkpoints that help you see what is happening along the way.
We use US crochet terms. In UK terminology, the stitch called single crochet here is called double crochet. Check the terminology before starting any other pattern.
Set up a small practice kit
Choose a smooth, light-colored yarn so the loops are easy to see. A medium-weight yarn and a hook in the size range on its label are a practical starting pair. Keep scissors, a blunt yarn needle, and two removable stitch markers nearby. Dark, fluffy, or highly textured yarn can wait until identifying stitches feels familiar.
Put your yarn where it can unwind without catching on a bag or chair. Sit with your shoulders relaxed. Try holding the hook like a pen, then like a table knife; use whichever lets your fingers move comfortably. There is no prize for gripping tightly. Pause if your hands become tired.
Make the first loop and chain
The strand connected to the ball is your working yarn; the short loose end is the tail. Cross the yarn into a loop, draw a small fold of working yarn through it, and place that adjustable loop on the hook. Leave a tail long enough to weave in later. Tighten gently until the loop slides along the hook without falling off.
Bring the working yarn over the hook from back to front, catch it, and draw it through the loop. That makes one chain. Repeat. Count the little V shapes below the hook, leaving out both the starting knot and the live loop on the hook.
Your first practice square
This is a stitch-count exercise, not a fitted pattern. Its finished size depends on your yarn, hook, and tension. Keep the same yarn and hook throughout so you can notice how your stitches change as you practice.
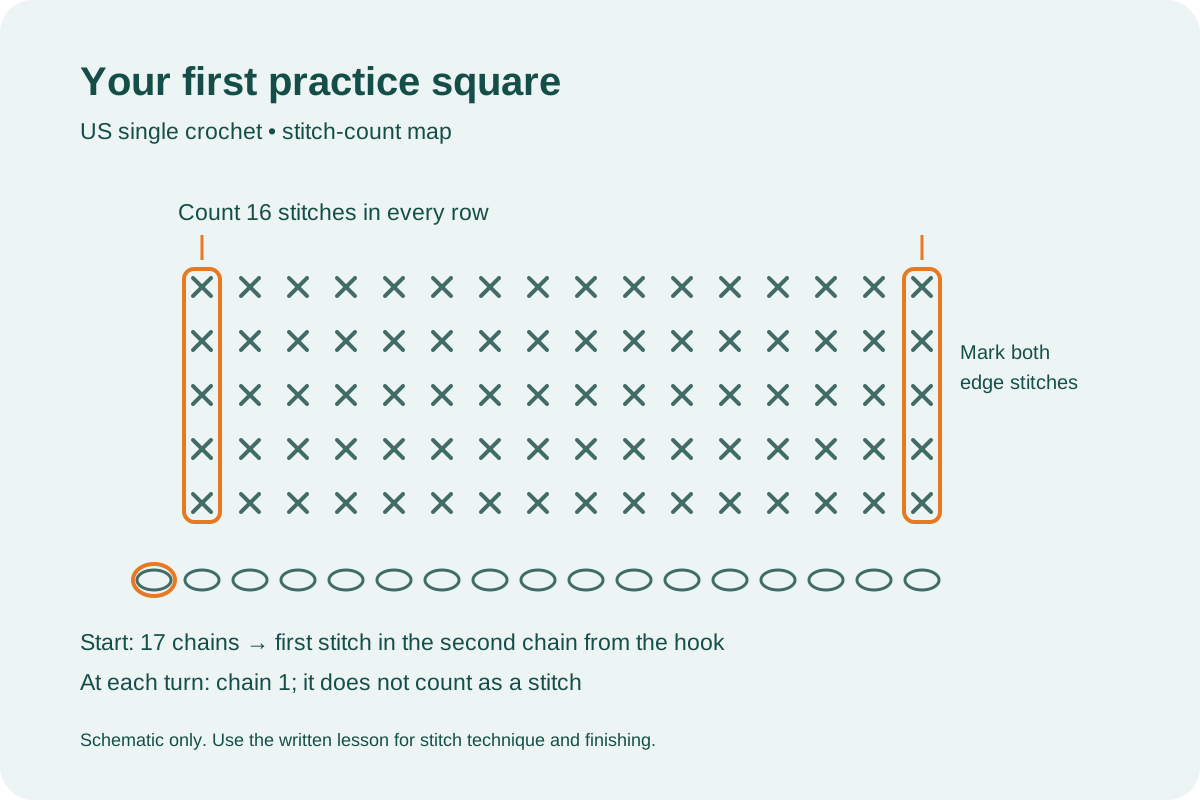
- Start with 17 chains. Keep them loose enough to insert the hook. Identify the second chain away from the hook.
- Work the first single crochet. Insert the hook into that second chain. Yarn over and draw up a loop, leaving two loops on the hook. Yarn over again and draw through both loops.
- Complete the first row. Make one single crochet in each remaining chain. Count 16 stitches. Put a marker in the first and last stitch.
- Begin the next row. Chain one and turn. This turning chain does not count as a stitch in this exercise. Work into the first stitch, under both top loops, then once into every stitch across.
- Keep the width steady. Count 16 stitches at the end of each row and move the markers up. Repeat until the fabric is about as tall as it is wide.
Check your first row before making the second. A correction is quicker when the mistake is only a few stitches behind you. If you need to undo a section, remove the hook and gently pull the working yarn until you reach the right place, then put the live loop back on the hook.
Read the fabric before you blame your hands
- The piece is getting narrower: count the stitches and check whether you missed the last marked stitch. The edge can look smaller than the stitches in the middle.
- The piece is getting wider: look for two stitches made into one stitch, or a stitch worked into the turning chain. Return to the last row with 16 stitches.
- The hook will not go through: loosen your grip and let the loop sit on the wider shaft of the hook rather than tightening around its narrow tip.
- The yarn keeps splitting: slow down as you insert the hook. Catch the complete strand before pulling it through.
- The square looks uneven: compare the first few rows with the last few. A more regular final row is progress, even if the whole piece is not perfectly square.
Finish and keep your first sample
Cut the working yarn, leaving about 6 inches of tail. Pull that tail all the way through the final loop and snug it down. Thread the tail onto the yarn needle and weave it through the fabric in more than one direction. Secure the starting tail too, then trim the excess.
Keep the sample with a note of the yarn, hook size, and date. Make another later using the same materials. Comparing the two is a useful way to see changes in tension and edge control without needing a complicated project.
From a flat square to a little crochet character
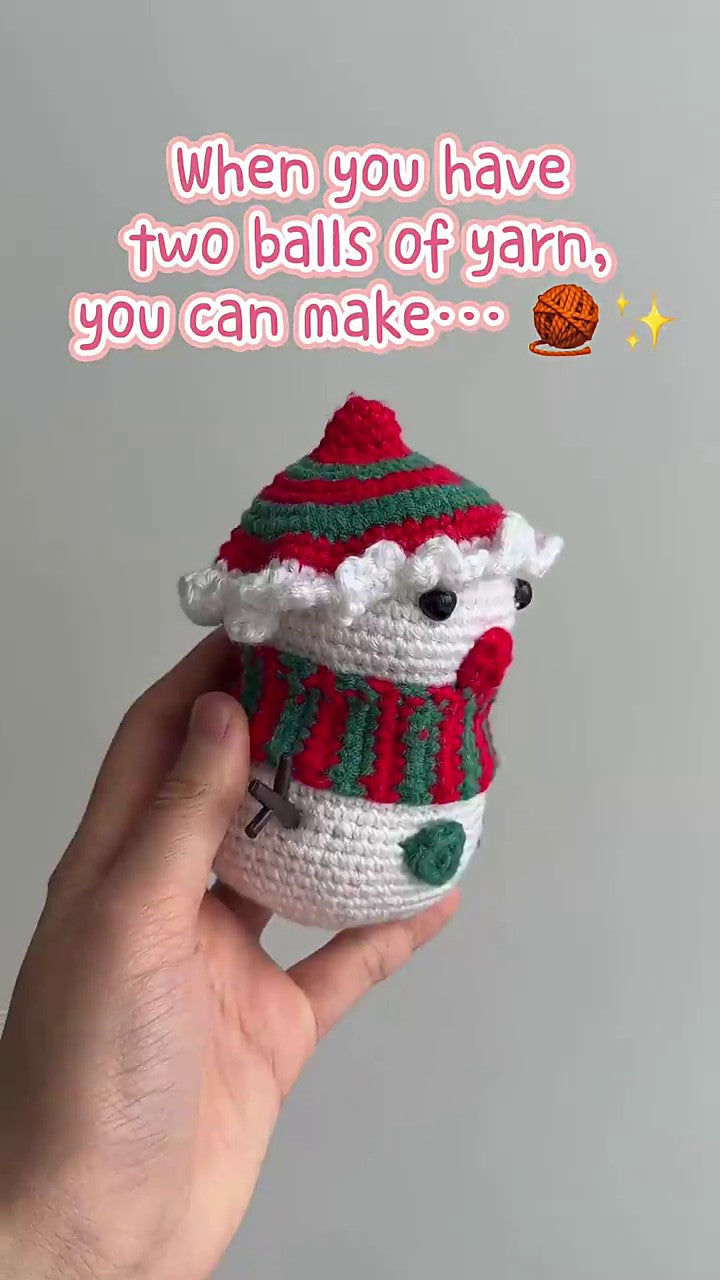
Once you can keep the same stitch count across several rows, choose one new skill at a time. For amigurumi, the next lessons are working in rounds, marking the start of a round, and learning increases and decreases. A flat practice square is preparation; it is not a pattern for the finished toys in our store.
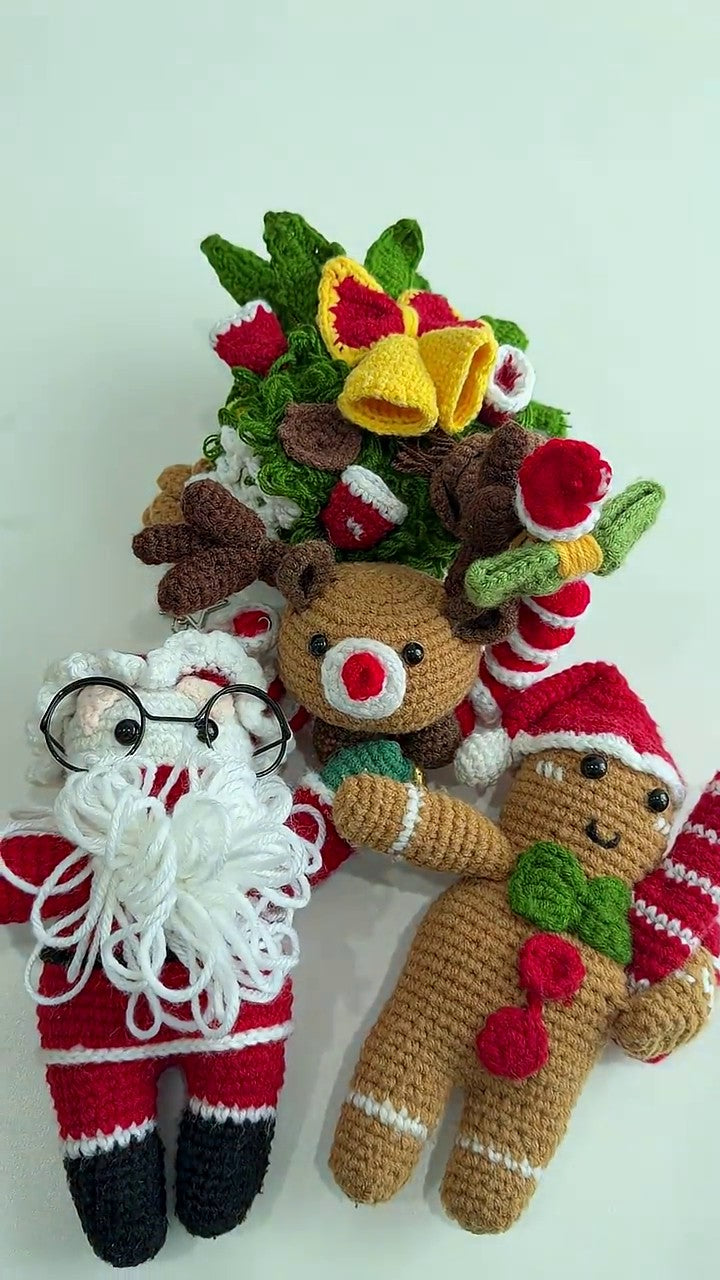
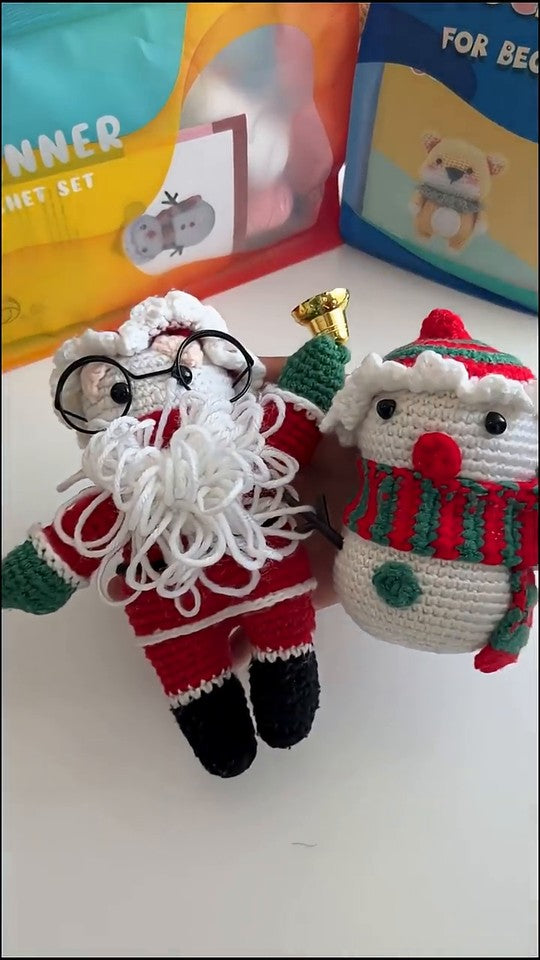
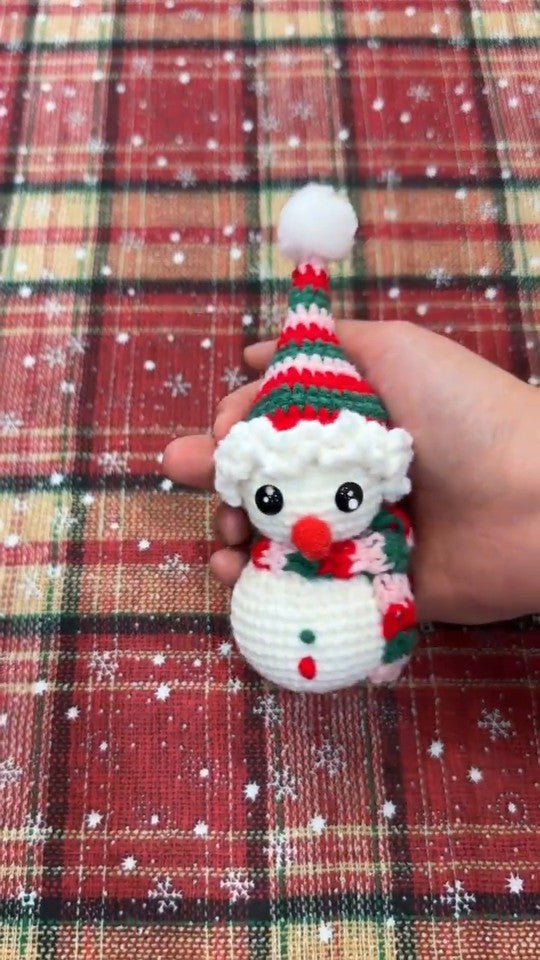
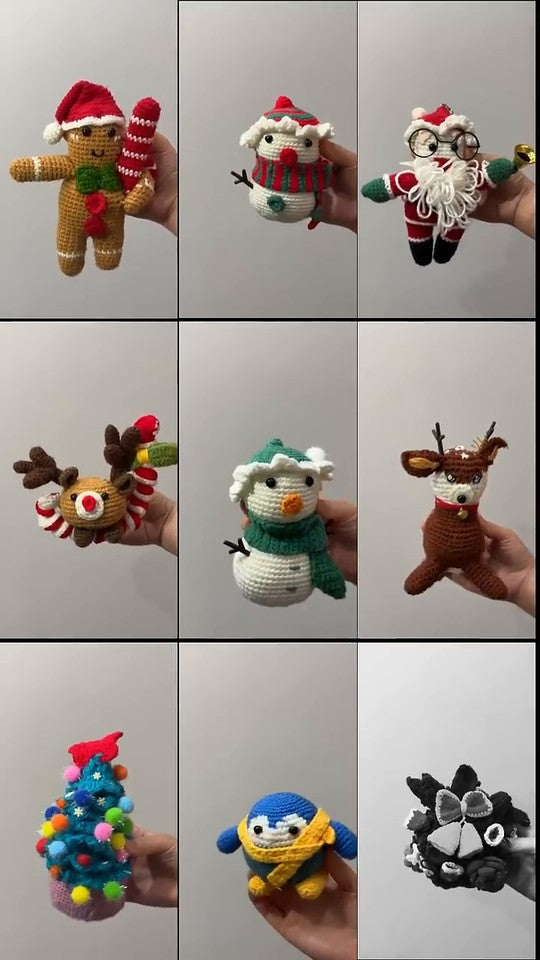
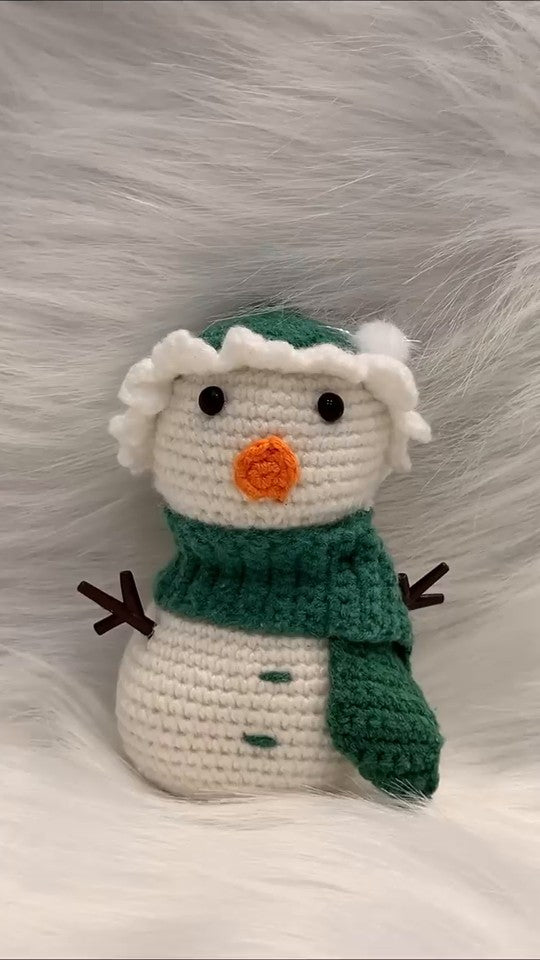
For handmade inspiration, explore the Forfunly amigurumi collection. Prefer to enjoy a finished piece while you learn? Browse our handmade crochet shop. Always read a product's selected option and contents before ordering; a finished toy and an accessory pack are different items.
Further learning
This original Forfunly practice guide was inspired by the beginner-friendly approach of LoveCrafts' introduction to crochet. For illustrated stitch instruction, visit the Craft Yarn Council's single crochet lesson. The wording and practice-square exercise on this page were written for Forfunly.
FORFUNLY CROCHET JOURNAL · START HERE
What would you like to make next?
- Your First Christmas Crochet Project: How to Choose and Prepare — Choose a holiday project by the skills, assembly and support it needs.
- Your First Snowman Crochet Kit: What to Check Before You Start — Organize your tools and materials and check the instructions before the first stitch.
Keep your stitch count steady
Choose what to make next
Compare the materials, instructions and skills in our crochet kit selection guide. If you want the character already made, read DIY kit vs. finished piece before selecting an option.