Crochet Snowman Scarf Ideas: Christmas Colors and a Neat Finish
A little scarf gives a crochet snowman a lot of personality. Start with the face, then let the colors frame it.
You have chosen a snowman to make—or finished one—and now you want the details to feel right. Should the scarf match the hat? How much of the body should the ends cover? And why can an extra turn around the neck make a small character look crowded?
These crochet snowman scarf ideas are for small handmade characters, rather than scarves for people. They focus on choosing a Christmas palette and arranging the finished accessory. Use your project’s instructions for the actual stitches, sizing and attachment; this is a styling guide, not a scarf pattern.
Begin with the snowman you are actually making
Before choosing another yarn color, look at the hat, nose and body details together. A bright hat already gives the eye somewhere to land. A scarf can repeat one of its colors without repeating every stripe. If the hat is simple, the scarf can carry more of the color.
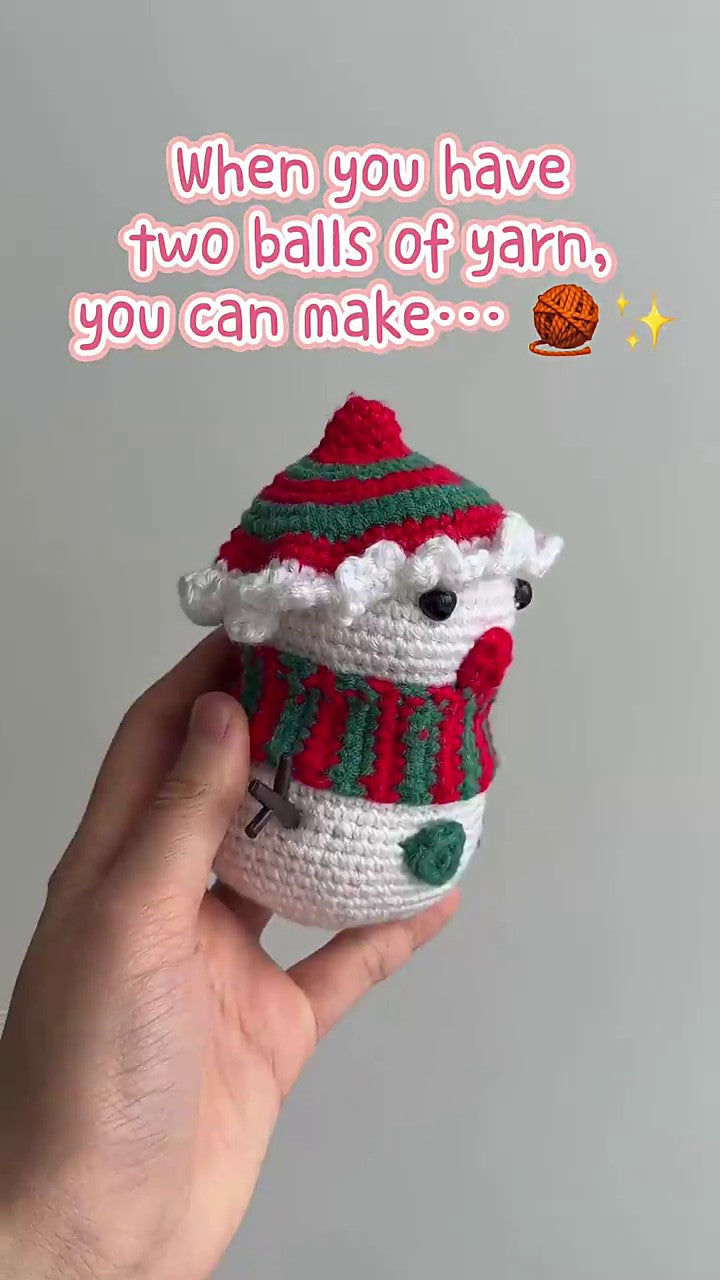
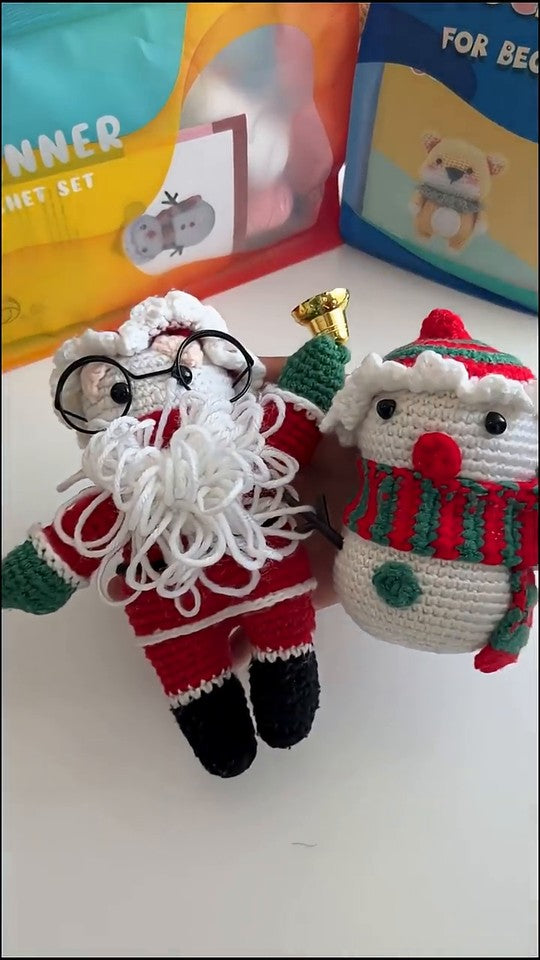
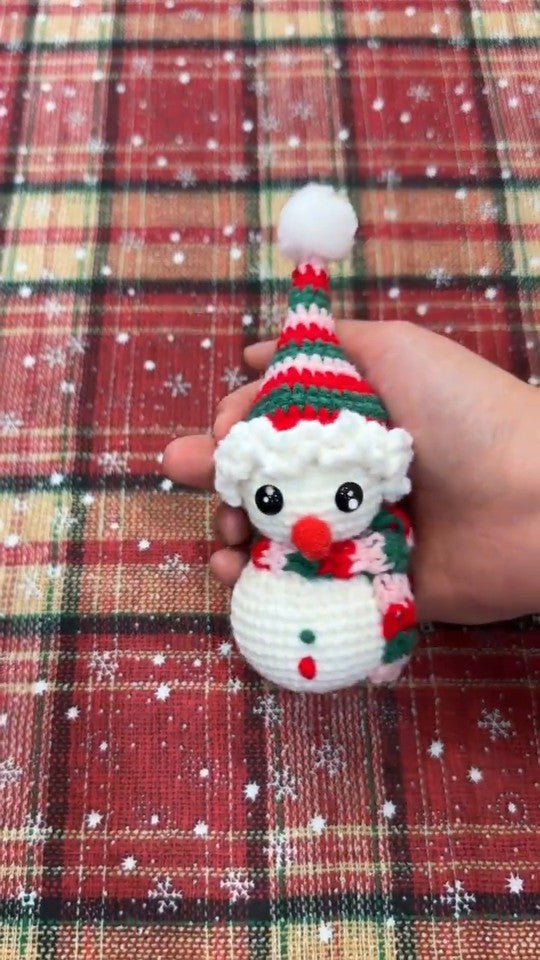
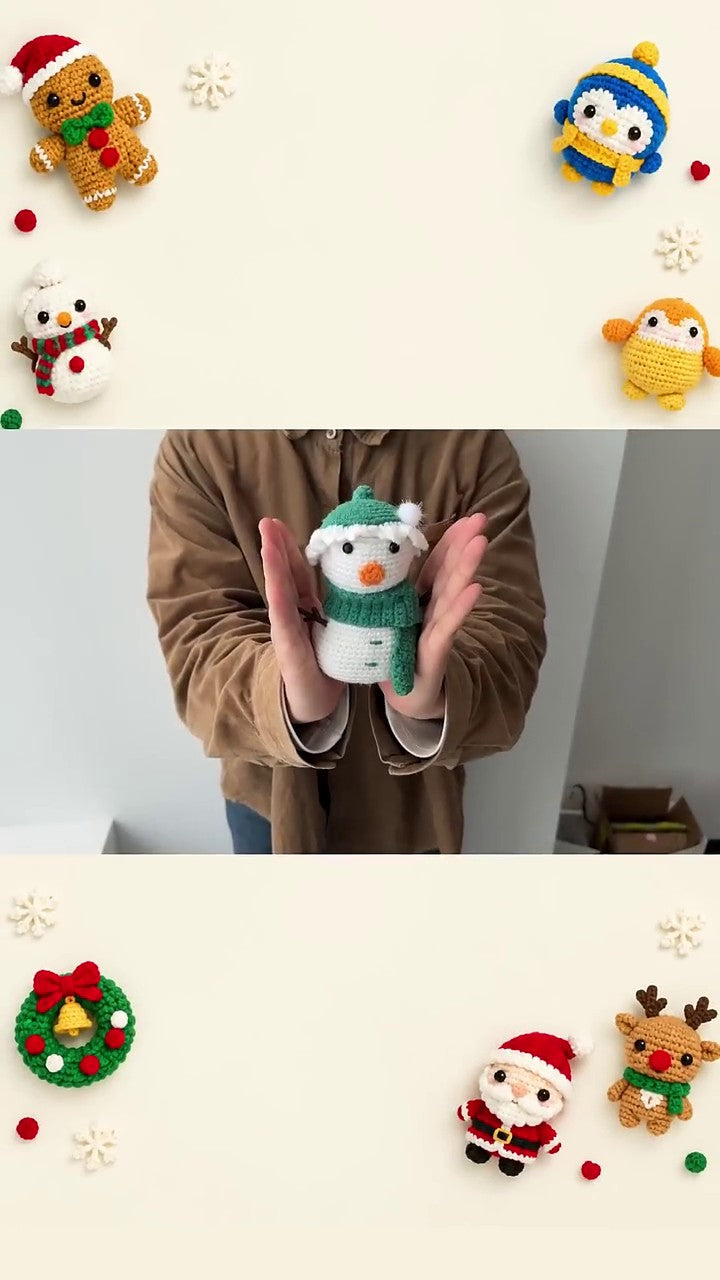
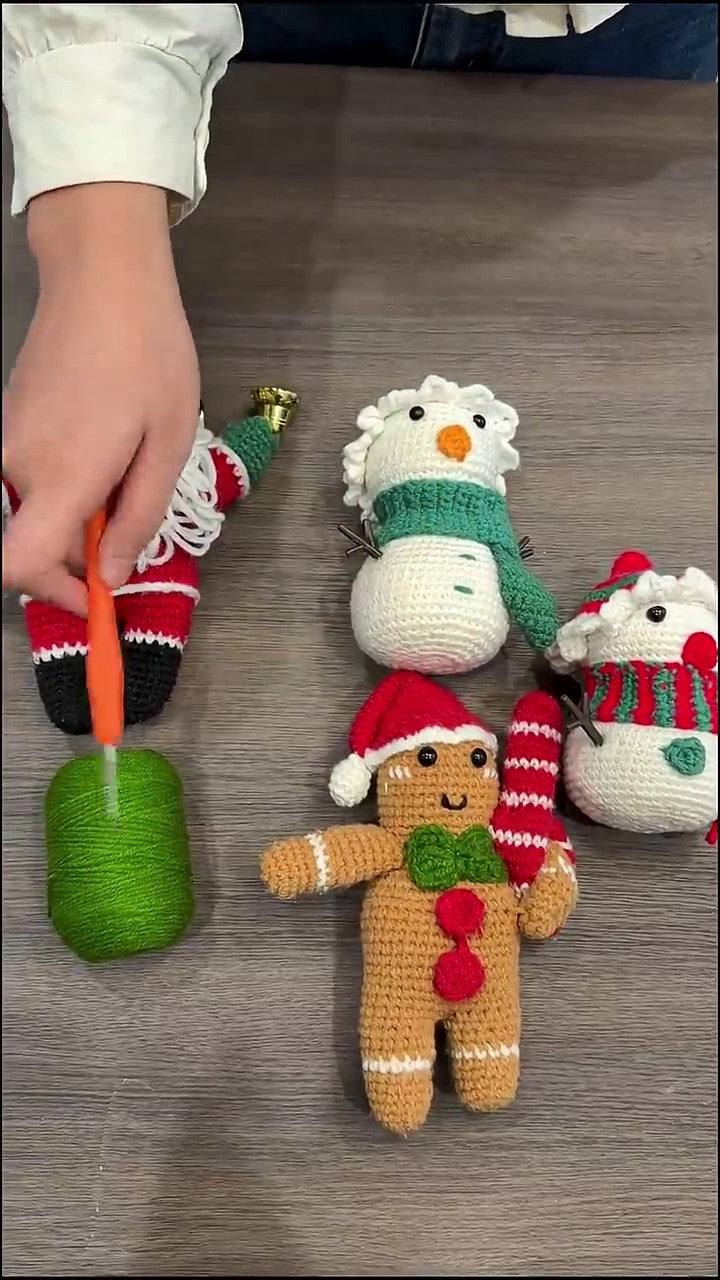
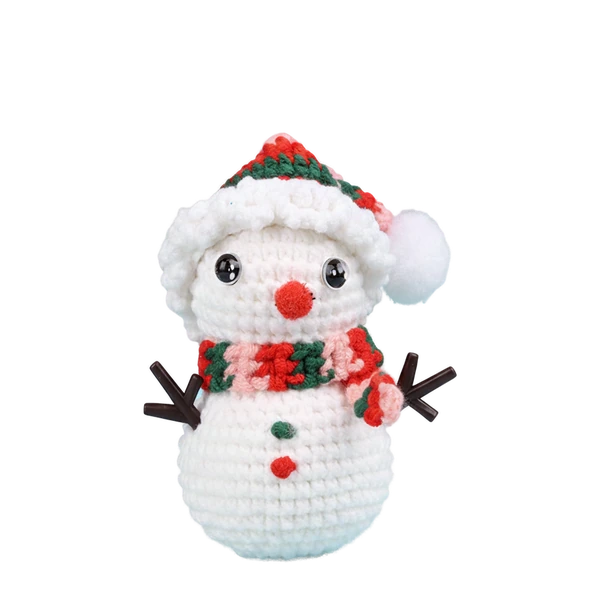
The finished-design photo for Forfunly’s Colorful Scarf Snowman Crochet DIY Kit shows a white snowman with a patterned hat and a scarf containing red, dark green and pale pink sections. The colors connect the accessories, while the white face remains easy to see. Small red and green body details continue the palette below the scarf.

Use this photo to study where color sits, rather than assuming every detail can be swapped. The listing does not establish that the scarf is removable or that alternative scarf colors are supplied. If this is your first project, follow the original design before planning modifications.
Three color directions for Christmas and beyond
Choose the mood before choosing the number of colors. For a small snowman, a useful starting point is one main scarf color and one accent. Place the candidate yarns beside the actual hat in daylight, then step back: does the face still stand out?
Red, forest green and a little cream
For a Christmas shelf or a gift beside the tree: use red as the focal color and repeat green in a smaller section. If the hat is already red, let green lead the scarf. Cream provides a quiet break between stronger colors. You do not need equal amounts of red and green for the result to feel festive.
Soft green, cream and warm gray
For a desk or a shelf you will keep through winter: softer green and cream sit comfortably beside pale wood, books or a neutral wall. Compare cream with the snowman’s white yarn first. If the two disappear into each other, a darker green edge or main section can give the scarf a clearer outline.
Berry red, blush and off-white
For a friend who likes softer colors: keep a berry-red accent for the Christmas connection and bring in blush for warmth. You can use the same idea in the gift tag or ribbon if you are following a fixed kit design. Personalizing the wrapping lets you make the gift feel theirs without altering an unfamiliar pattern.
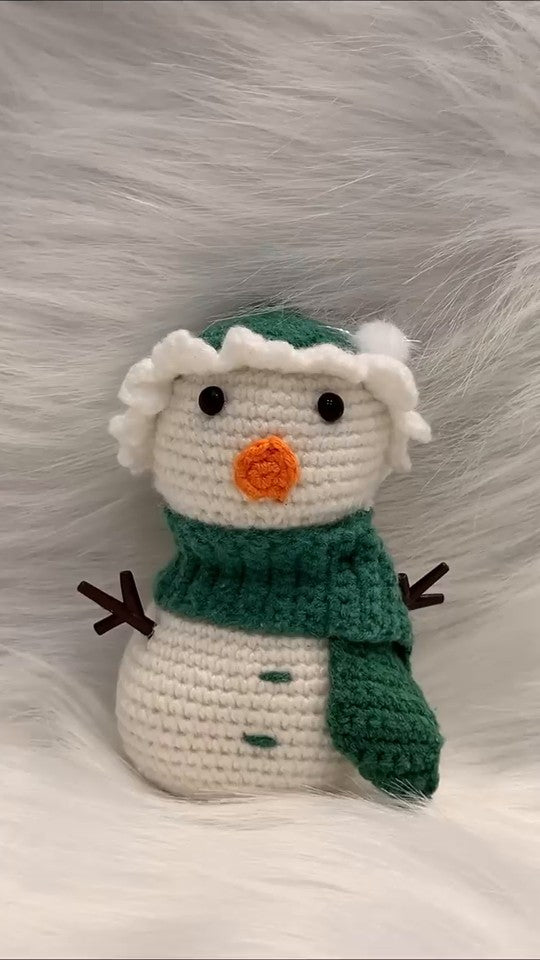
For a solid single-color scarf, compare the Green Scarf Snowman Crochet DIY Kit.
These palettes are color-planning suggestions, not additional kit options or a list of supplied yarns. Check your pattern and available materials before changing the design.
Check the fit in three places
A scarf that looks balanced from above may cover more of the face when photographed straight on. Set the character in its intended display position and look at eye level before adjusting anything.
| Where to look | What to check | What to do next |
|---|---|---|
| Below the face | Can you see the lower face and nose clearly? | Arrange the scarf’s upper edge as the design allows; avoid pushing it against the face. |
| At the neck | Does the fold look bulky or squeeze the shape? | Check the intended fold and attachment before adding another wrap or a knot. |
| Across the body | Do the ends hide buttons or other small details? | Compare the arrangement with the pattern photo and preserve the details you want to show. |
Keep a clear space below the face
The scarf should frame the expression. Look for an upper edge that sits neatly without climbing toward the nose. If the scarf is already sewn in place, do not pull it down to force a different look. Check whether the project guidance permits reshaping the fold; otherwise, keep the original arrangement.
Do not solve extra length by adding bulk
An extra wrap may look cozy on a person but overwhelm a miniature neck. Before tying or wrapping anything again, check how the scarf is meant to sit. A sewn accessory may rely on a particular fold to keep the head and body details visible. If a newly made scarf does not fit as instructed, review its stitch count and the pattern’s size guidance before attaching it.
Let the ends support the shape
Look at both ends against the body. A slight difference in their position can look relaxed, but neither should accidentally cover the feature you most want to show. For a new project, take a quick front-view photo before the final attachment stage specified by the pattern. It is easier to assess the arrangement in a photo than while holding everything in your hands.
Give the finish a closer look
Check the scarf on its own, then check it on the snowman. Look for an unintended twist, an edge folded underneath and loose yarn ends that still need securing according to the pattern. Arrange the existing folds gently rather than stretching the fabric until it looks even.
If the scarf seems to be hiding a misshapen neck or an assembly problem, pause and inspect that area first. Covering it may make the front photo tidier without fixing the underlying issue. Follow the project’s construction guidance before finishing the accessory.
Do not assume that ironing, steaming or machine washing will help. Treatment depends on the yarn and every other component. Follow the materials’ care guidance and the project instructions; for styling alone, a gentle adjustment and a fresh photo may be enough.
Style it for the place it will live
On a desk: use a calm background and photograph at the snowman’s eye level. Keep the scarf and face visible rather than surrounding the character with lots of props. Use a suitable support if the design needs one; a product photograph does not establish that a character stands independently.
On a Christmas shelf: repeat one scarf color in a nearby card or decoration, leaving some space around the character. If you want to display it on a tree, check whether the design actually provides an appropriate hanging attachment. A scarf is not a hanging loop.
Inside a gift box: arrange the scarf before adding tissue around the sides. Close the lid gently and reopen it to check that the face and folds have not been pressed out of place. Choose the box around the finished character, not the other way around.
FREE PRINTABLE · ONE-PAGE PLANNER
Give your snowman a look you love
Keep the Christmas Snowman Styling Planner & Final Check beside your project. Plan a scarf palette, check the face, neck and ends, and get your little friend ready for a shelf or a gift box. There is space for your own colors and gift-tag idea, too.
Free PDF · One printable page · No pattern required to use the planner
Get the free planner by email
Questions before you change the scarf
Does the scarf have to match the hat?
No. Repeating one color is usually enough to connect them. Try the yarns together first, and keep the face visible as the main focal point.
Can I replace the scarf on a kit design?
Only plan a swap after checking how it is constructed and attached. Some accessories are sewn into the finished piece. A different yarn or stitch can also change the size, so a color change is not automatically a like-for-like replacement.
How long should a miniature snowman scarf be?
There is no single measurement that fits every character. Use the specific pattern’s instructions, then check the face, neck and body details before final assembly. Without the snowman’s dimensions and construction, a universal length would be misleading.
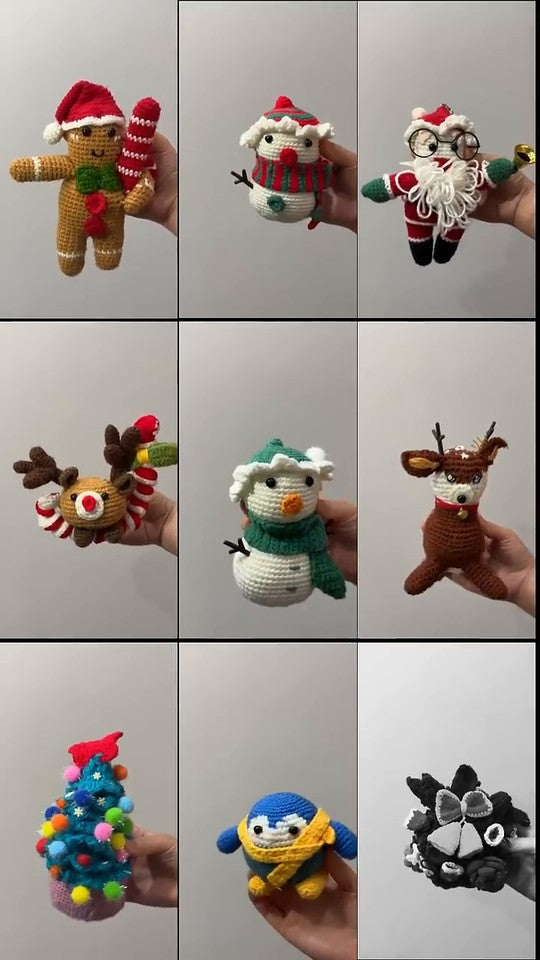
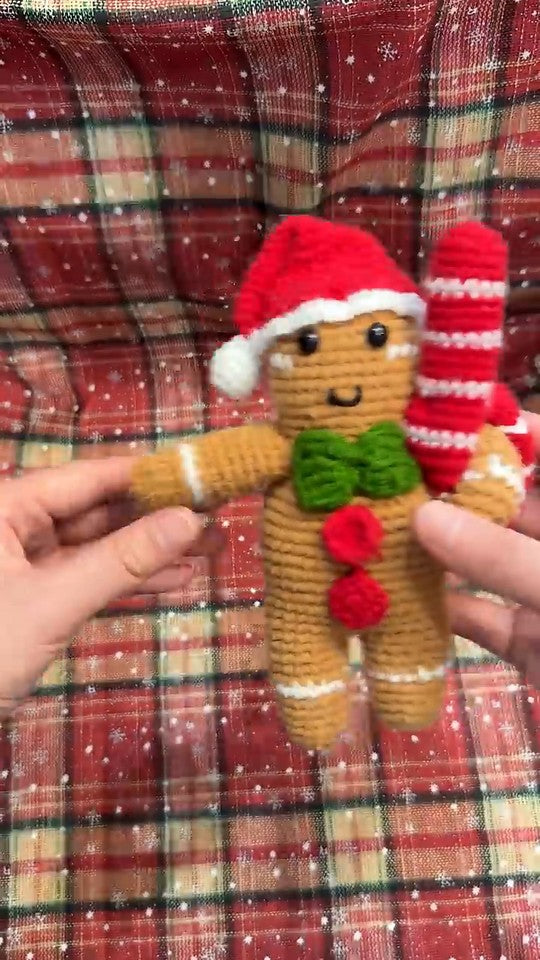
For your first version, keep the original construction and put your personal touch into the display or gift tag. Explore the Colorful Scarf Snowman Crochet DIY Kit for the pictured design, or browse Forfunly’s Christmas collection to choose your next character.
FORFUNLY CROCHET JOURNAL · TIPS AND FIXES
What would you like to make next?
- Your First Snowman Crochet Kit: What to Check Before You Start — Organize your tools and materials and check the instructions before the first stitch.
- Crochet Snowman Troubleshooting: 6 Beginner Problems and Fixes — Check stitch counts, gaps, shaping and assembly when your snowman needs an adjustment.