Your First Snowman Crochet Kit: What to Check Before You Start
A practical unboxing guide for beginners getting ready to make a little Christmas friend.
Opening a snowman crochet kit can feel like Christmas arriving early: soft white yarn, bright colours for the little details, and a character waiting to take shape. Before you pull the first loop through your hook, give yourself a moment to understand what is on the table.
Start by matching the materials to your project instructions, finding the recommended hook size, and checking how to access the tutorials. A little preparation makes it easier to concentrate on learning the stitches when you begin.
This guide is for adults opening their first amigurumi kit, or returning to crochet after a break. We use a photographed snowman kit to show what to check. It is an opening-and-preparation guide; follow the instructions supplied with your chosen kit for the actual stitch counts and construction.

Lay everything out before you begin
Keep the packaging and spread the contents on a clean, well-lit surface. Separate the yarn, filling, tools and booklet so that small items do not disappear under larger bags. Leave yarn labels attached until you have checked the project notes.
In the photograph, you can see white, red, green and black yarn, a bag of filling, a printed snowman booklet and a transparent tool bag. This is a record of the photographed set, rather than a promise that every snowman option contains the same materials or tool assortment.
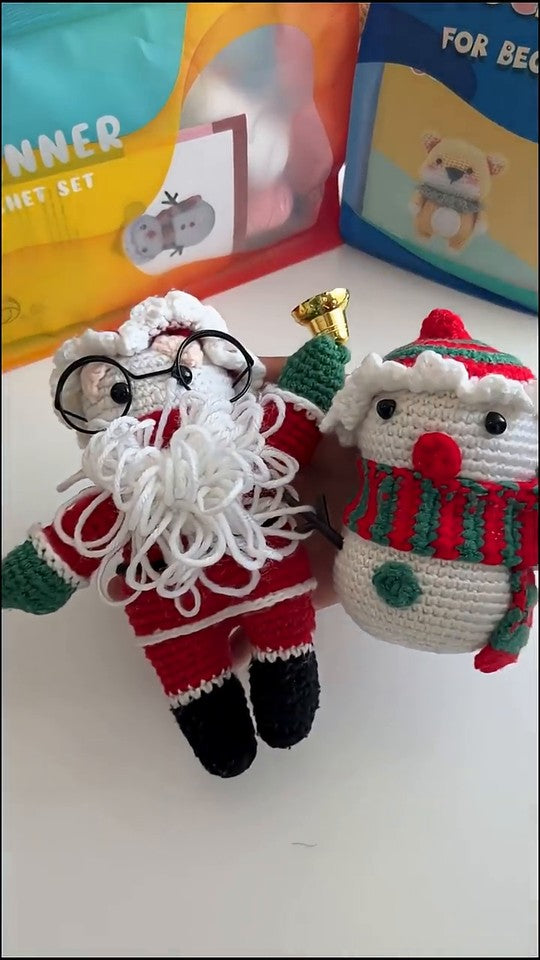
Compare the booklet cover with the design you ordered. A collection can include several snowmen with different hats, scarves and face details; use the instructions for your particular design.
| What to check | What you need to establish |
|---|---|
| Yarn | Which colour is used for each part, whether different white yarns have different roles, and any material or size guidance. |
| Tools | The hook size specified by the pattern, plus the tools needed for counting rounds and attaching parts. |
| Filling and details | What fills the body, how face details are made, and whether any separate components need fitting before closing. |
| Instructions | The correct design, terminology, starting method, supply list and tutorial access. |
Recognise the tools without trying to use them all
A bag containing several tools can look more complicated than the crochet itself. You do not need to use every item at once. Find the tools named in the next section of the instructions and keep the rest together.
Choose the hook by its marking and the pattern
If the bag contains several hooks, check their size markings against the project instructions. Handle colour is not a reliable size guide. If a marking is difficult to read, ask for confirmation before starting the body; guessing can change the fabric and finished size.
Keep a stitch marker close
The small opening clips in the tool bag are stitch markers. When a pattern uses continuous rounds, a marker can help you identify the beginning of a round. Place and move it as the instructions direct. Check the round’s final stitch count before continuing, rather than waiting until the whole shape looks uneven.
Save the sewing needle for the right stage
A yarn needle helps thread yarn through crochet fabric when securing ends or attaching pieces. A tape measure helps check dimensions where the pattern gives them. Keep needles and other small parts in a closed container between sessions.
Find the tutorial before you start the snowman
The photographed instruction page is written in English and directs beginners to scan a QR code for tutorial videos. Its terminology diagrams identify working yarn, the top loops of a stitch, the yarn tail, single crochet and a round. These are useful terms to recognise before following a toy pattern.

Use the QR code in your own booklet and check that the page opens before settling down to crochet. Look at the video titles and confirm whether they cover basic techniques, this snowman project, or both. Check the spoken language and captions separately: an English printed page does not establish the language of the videos.
If the code does not open, try your phone’s camera or QR scanner, check the connection, and keep the booklet to hand when contacting support. Avoid posting the code publicly while asking for help. If the videos teach only basic stitches, you will still need the snowman pattern for its round-by-round instructions.
Understand the words you will meet in the first rounds
Before working with the project yarn, use the booklet’s diagrams to tell the working yarn from the tail. The working yarn leads back to the ball; the tail is the loose end. Being able to recognise both makes the starting instructions easier to follow.
The photographed page also labels the top loops of a stitch. Learning to see those loops helps you find where to insert the hook. Follow the pattern whenever it specifies working into a particular loop or another part of the stitch.
Check whether the pattern uses US or UK crochet terminology. In US terminology, sc means single crochet; the corresponding UK stitch is called double crochet. Use a tutorial that matches the terminology in your instructions.
A round is a series of stitches worked around the piece. Some patterns join rounds and others continue in a spiral. The starting method, joining instructions and stitch totals should come from the snowman pattern. Do not assume that every round needs an increase or that every toy begins in exactly the same way.
Use a small practice piece to find your rhythm
If you have never held a hook, practise making and recognising stitches before starting the snowman. Use spare yarn of a suitable type if you have it. If practising with kit yarn, check the available amount and the instructions before setting any aside; extra practice yarn should not be assumed.

Aim for stitches that you can work into without forcing the hook. Pulling everything as tight as possible can make the next stitch difficult. If you see large gaps, first compare your hook, yarn and technique with the instructions rather than immediately changing several things at once.
A flat practice piece can help you learn how to hold the yarn and identify stitches. A snowman may also require working in rounds, increases, decreases and attaching parts, so check those skills against your pattern before moving from practice to the toy.
Read ahead for the parts you cannot add later
Read the construction notes before beginning the body. If the pattern uses fitted eyes or another component secured from inside, it may need to be installed before stuffing and closing. Embroidered details and separately sewn pieces may follow a different order. This is why the project’s sequence matters.
Keep filling bagged until the instructions call for it. Add it gradually at the specified stage, checking the shape as you go. More filling does not automatically give a neater snowman; it can stretch the fabric and make gaps more visible.
For hats, scarves and arms, check whether they are worked separately, attached during crocheting, or added afterwards. Do not cut lengths of yarn or sew parts permanently just because they appear ready in a finished photograph.
Give your first session a useful stopping point
You do not have to finish the snowman in one sitting. A successful first session might mean opening the tutorial, finding the correct hook and completing the first section with the right stitch count.
Before putting the work away, note the last completed round, leave the marker where the pattern requires it, and secure the working loop so it cannot easily unravel. Store the hook, small parts and booklet with the project. A brief note such as “round checked; ready for the next instruction” can make returning much easier.
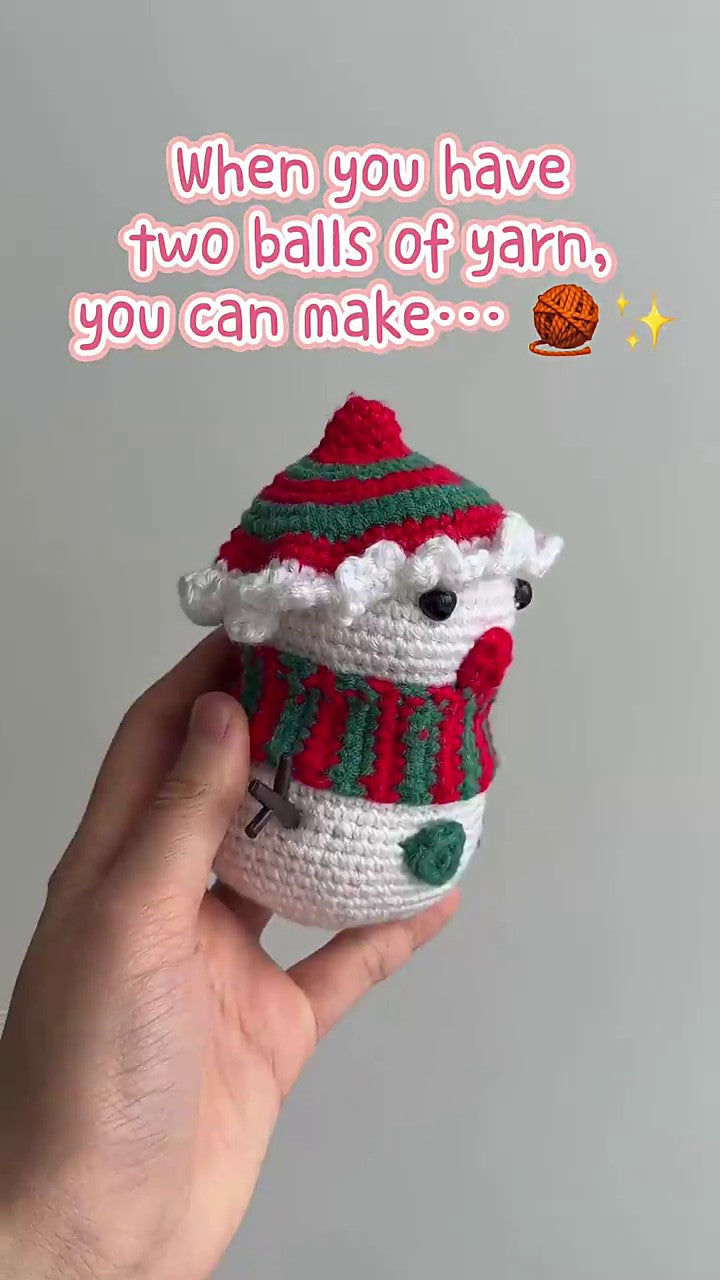
If you are making the snowman for Christmas, allow for delivery, practice, pauses and assembly. A short reveal video shows the transformation; it does not tell you how long your first attempt will take.

Before the first stitch
- The booklet matches my selected snowman design.
- I have checked the materials against its supply list.
- I know which hook size the instructions require.
- I can open the tutorial and understand how it relates to the printed pattern.
- I have checked the terminology and starting method.
- I know where to pause and ask for help if an instruction is unclear.
If something is missing or unclear, keep the packaging, take a clear photograph of what you received and contact Forfunly before improvising a replacement. Include the design name and the step you need help with; share order details privately with support.
Questions before you begin
Do I need to buy more tools before opening the kit?
Open and check your selected kit first. Compare its supply list with the instructions and what you received. Do not buy an extra hook or sewing needle simply because a general tutorial uses one; confirm what your project requires.
Does a QR code mean the full snowman tutorial is included?
The photographed page offers access to tutorial videos, but the page alone does not establish their full scope. Open the code in your booklet and check whether the videos cover basic techniques, the specific project, or both.
Can I use any white yarn for practice or replacements?
Yarns that look similar can differ in thickness, fibre and texture. Spare yarn can be useful for learning a technique, but replacement yarn for the actual snowman needs to suit the pattern. Ask for guidance if a supplied yarn is missing or insufficient.
Can the finished snowman be a gift for a child?
Check the selected product’s intended use and age suitability. Small parts, detachable decorations and the way the piece is assembled affect suitability. A handmade Christmas decoration should not automatically be treated as a child-safe toy.
Ready to make a little winter friend
Once the materials are checked and the first instruction makes sense, start with that one step. Keep the booklet nearby, count as you go and let the snowman take shape at your own pace.
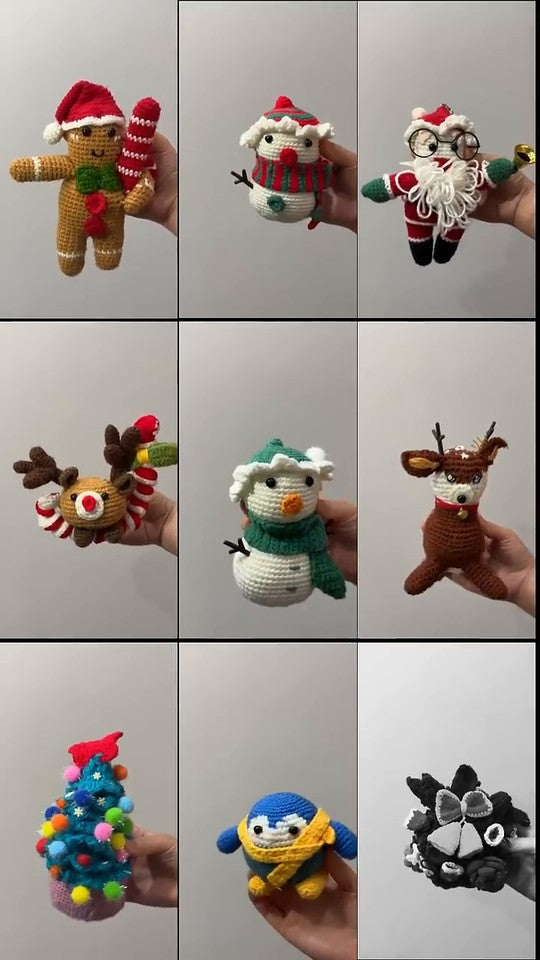
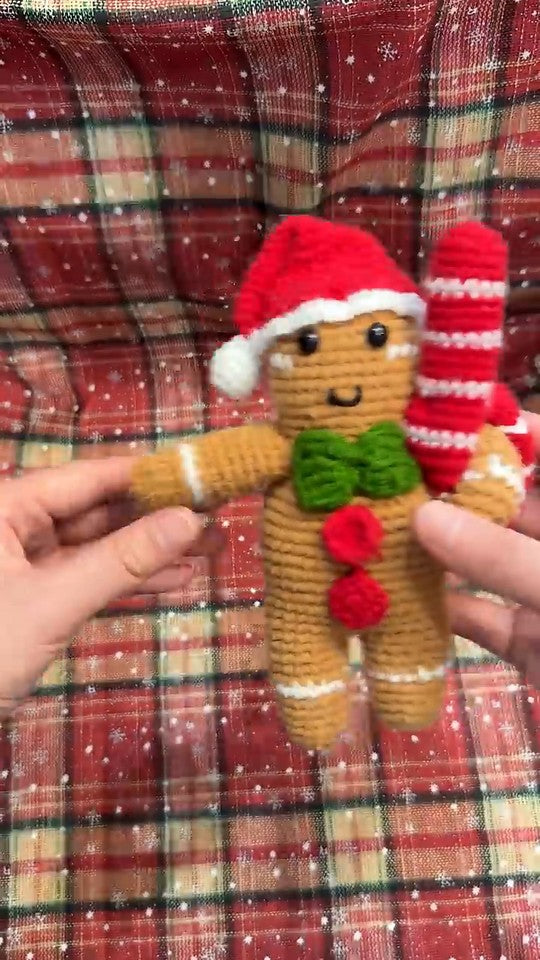
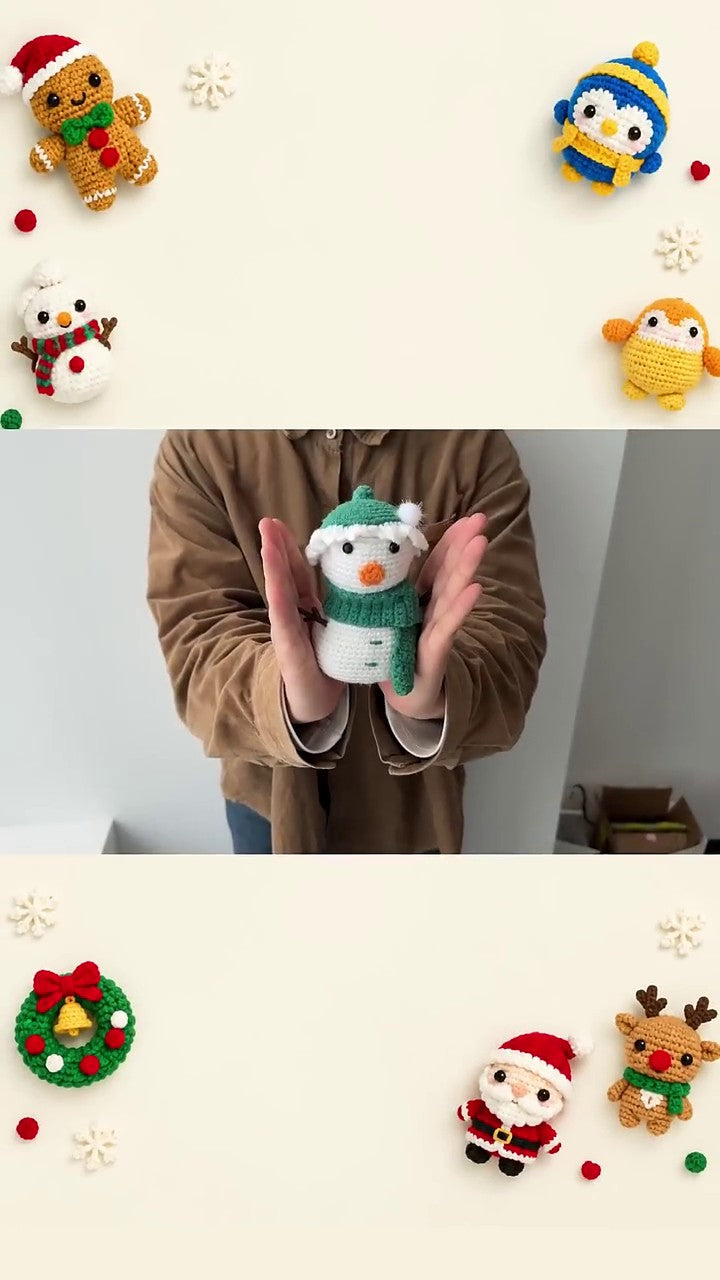
Still choosing a character? Explore Forfunly’s Christmas collection. For finished-character inspiration, visit Forfunly on YouTube; use your selected kit’s instructions for making the project.
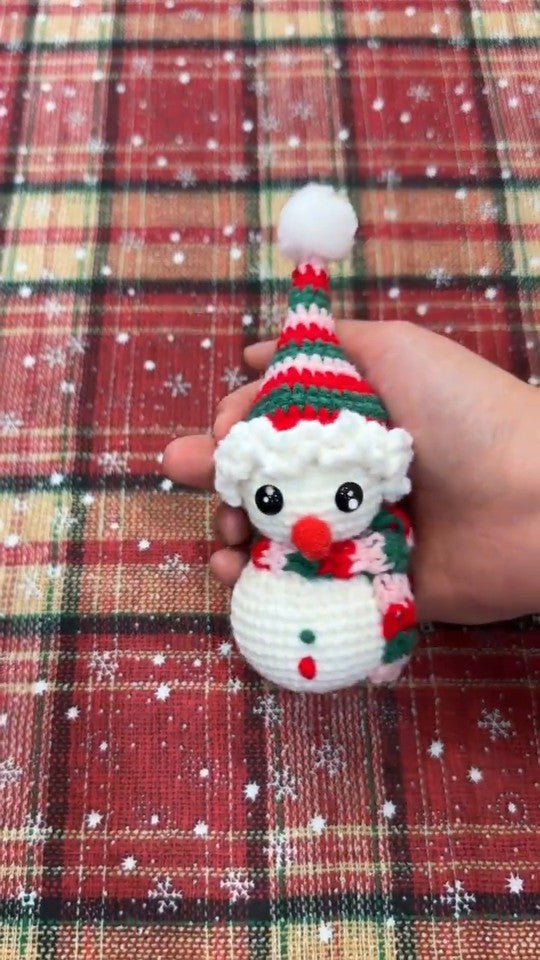
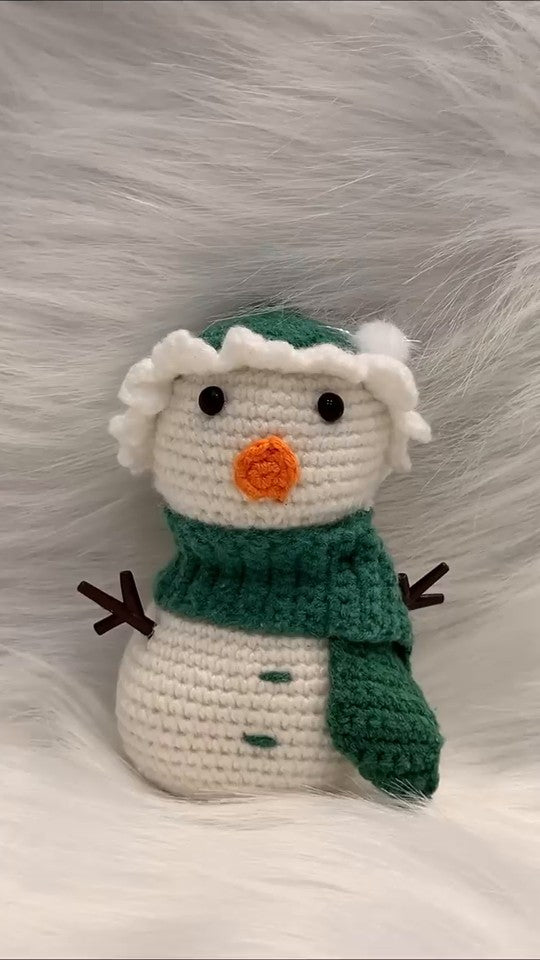
Choosing your first snowman? Compare Forfunly’s snowman crochet kits: two rounded amigurumi snowmen and four hanging ornaments, and check each listing’s kit details before ordering.
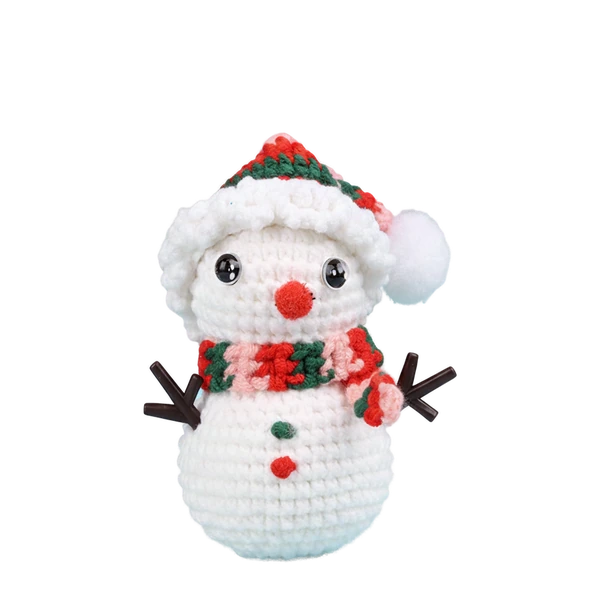
What would you choose for your little snowman: a red scarf or a green one?
FORFUNLY CROCHET JOURNAL · START HERE
What would you like to make next?
- How to Crochet: Make Your First Practice Square — Build confidence with a simple practice square before starting a shaped character.
- Crochet Snowman Troubleshooting: 6 Beginner Problems and Fixes — Check stitch counts, gaps, shaping and assembly when your snowman needs an adjustment.