Forfunly crochet guides
Amigurumi Stuffing and Finishing: A Practical Checklist
Finishing changes how a crocheted character holds its shape. You can have the correct stitch count and still see lumps, loose joins or uneven placement. Work in small stages: inspect the fabric, distribute the filling, check placement and secure each join before moving on.
Illustrations updated
What should you check first?
Add stuffing in small pieces. Follow the pattern’s shaping and closure steps. Stop if the fabric stretches open. Position separate parts before sewing. Secure the joins and weave in the ends. Check the shape from several angles.
Inspect the crochet before adding filling
Read ahead to see when the pattern says to add stuffing, attach parts and close the opening. Some small openings become difficult to fill later; other projects need parts joined before closure. Keep your stitch marker in place until the last round is checked.
Look for missed stitches, unsecured color changes or gaps that already show without filling. Stuffing cannot repair a broken stitch sequence. Correct the crochet while you can still reach it. Use the filling and tools specified for the project rather than assuming every kit supplies them.
Distribute small pieces of stuffing
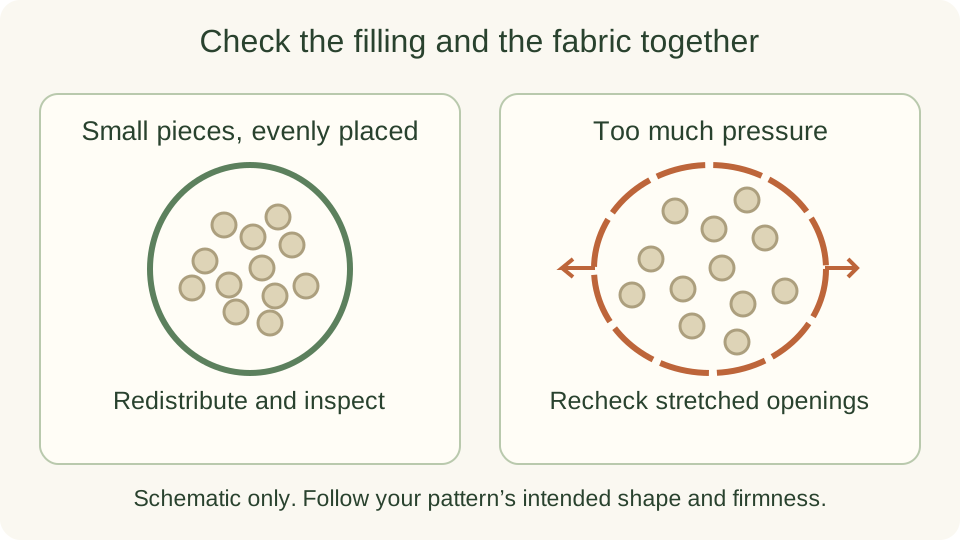
Separate the filling into small pieces instead of pushing one compressed lump through the opening. Place a little in the farthest area first, then work toward the opening. Use your fingers or a suitable blunt tool with care so you do not pierce or stretch the fabric.
Turn the piece and feel for empty spaces. Add gradually, distributing filling toward the sides as well as the center. Different shapes require different firmness, so follow the pattern. There is no single quantity or weight of stuffing that works for every character.
Check the shape without stretching the stitches
View the piece from the front, side and top. If one side bulges, redistribute what is already inside before adding more. A visible lump can come from compressed filling rather than too little stuffing.
If filling shows between stitches or the opening becomes hard to close, remove a little and reassess. Persistent gaps may relate to hook choice, tension or the fabric itself; more filling makes them more visible. For a new attempt, check the pattern’s yarn and hook guidance before changing either.
- Even shape from several angles
- No hard lumps or obvious empty pockets
- Fabric holds its shape without stretched gaps
- Opening remains workable for the instructed closure
Position separate parts before permanent sewing
Use the pattern’s stitch or round references to locate ears, limbs or decorations. Compare both sides on a stable surface. Temporary markers or pins can help hold placement while you check, but remove all pins before the item is handled or given away.
Leave enough yarn to join the parts as the pattern directs. Sew through secure stitches with small, even joins. Check the position as you sew. If a part twists or pulls the fabric inward, loosen the last few stitches and adjust it.
Secure the closure and inspect the result
Finish the closure as the pattern directs. Where appropriate, weave yarn tails through the fabric in more than one direction. Keep the fabric relaxed. A tail cut next to a knot can work loose. Check the joins and remove temporary markers and loose fibers.
Confirm care instructions before washing or gifting. A decorative character is not automatically suitable as a child’s toy; check its intended use and any small components. If you want a completed item instead of doing the finishing yourself, compare the finished-piece format and verify the selected option.
Find your next crochet design
Choose a project to make or a finished piece to buy. Check the selected option before ordering.
- How to Start Amigurumi: A Beginner Crochet Guide
- Learn with a US single crochet practice square
- Ask about a product’s contents or instructions
Before ordering, read the current shipping and returns information.
Further learning
For stitch names, see the Craft Yarn Council crochet abbreviations. For difficulty, see its project skill levels. Follow the pattern for your project. Check the product page for what you will receive.
Explore all crochet guides →