A Crochet Christmas Tree for Your Desk: Start with a Little Gnome
Your Christmas tree does not have to reach the ceiling. Sometimes, a little tree-shaped hat beside your books is enough to make the season feel close.
Perhaps you want something cheerful beside your monitor. Perhaps your apartment has room for a festive shelf, but not a full-size tree. A small crochet project gives you a decoration to look forward to making and a place to enjoy it afterward.
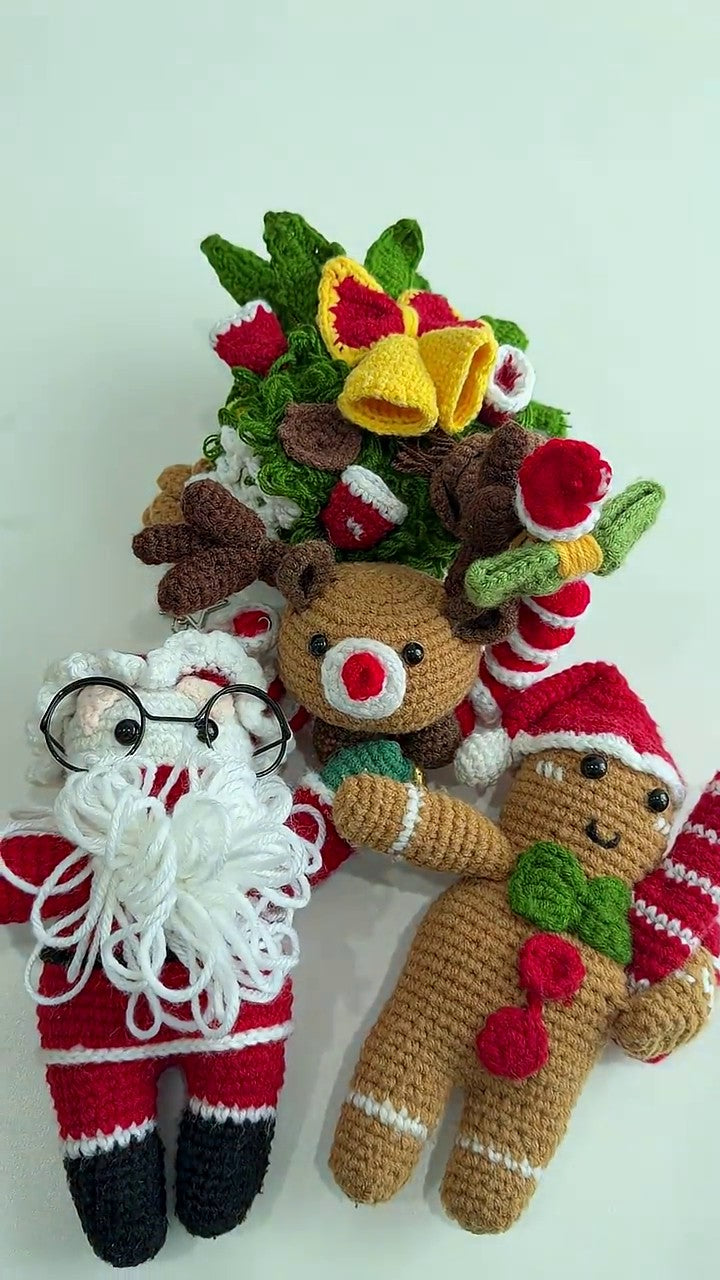
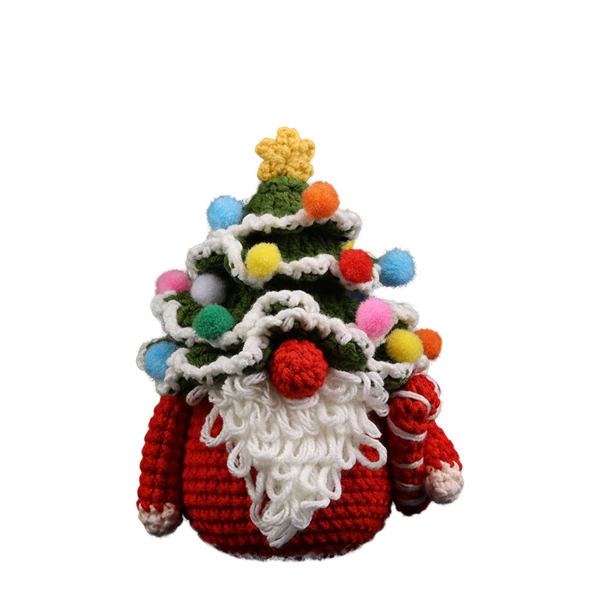
For this Christmas corner, we are starting with a character: Forfunly’s Christmas Tree Gnome Crochet DIY Kit. Its reference image shows a green tree-shaped hat, a star, colorful decorations, a white beard and a red body. Those details suggest a lively display without needing a whole collection of accessories.
This guide helps you plan the setting and decide what to check as a beginner. Use the instructions supplied for your chosen project for the actual crochet and assembly steps.
A tree, a gnome or a hanging ornament?
Searching for a crochet Christmas tree kit can bring up very different projects. A tree-shaped character has a face or beard and a body underneath its hat. A standalone tree focuses on the tree silhouette. A hanging tree needs somewhere to be suspended.
That distinction matters before you plan a tabletop display. For example, the product image for Forfunly’s Green & White Spiral Tree Crochet DIY Kit shows a hanging loop and a pointed lower end. Treat it as inspiration for a hanging arrangement; do not assume it will stand on a desk.


Official product reference images, shown at different scales. These photos do not establish the finished measurements or kit contents.
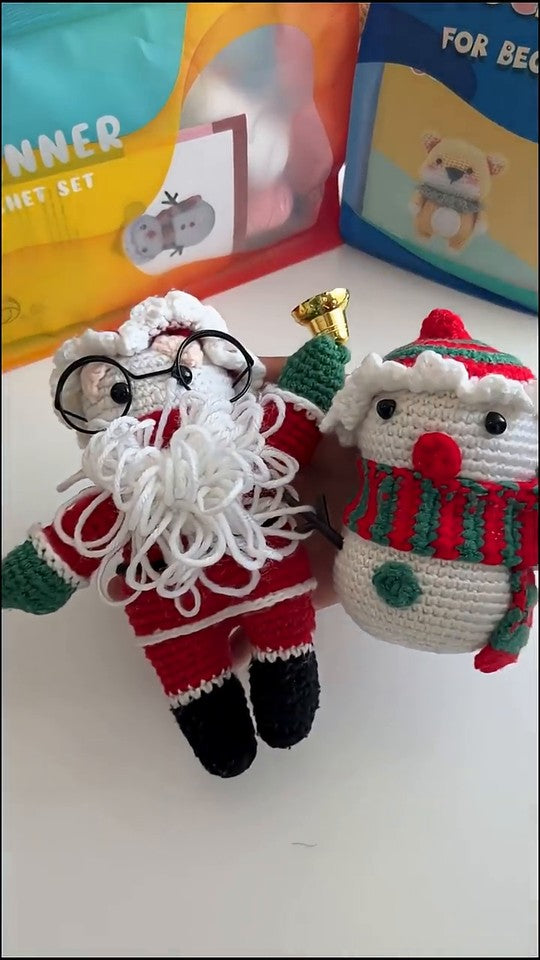
For a little character among your books, the gnome is the design to explore here. Its styled photograph shows the finished look, but does not establish its dimensions or how the base is supported. Confirm those details for the kit before deciding exactly where it will go.
Give your Christmas corner a footprint
Choose the spot while your desk or shelf is in everyday use. Leave the laptop, notebook and books where they normally belong. The space left over is the useful space for your decoration.
Cut a paper rectangle to represent the area you can spare. Measure its width and depth, then check the height available above it. On a shelf, remember the star at the top; on a desk, consider whether a tall hat will sit in front of the screen.
Compare those measurements with the finished project dimensions, including its widest decorations and any support it requires. If the listing does not give measurements, ask for the full height, widest width and base depth. A photo beside a ruler is more useful for this decision than a tightly cropped close-up.
Three ways to style one little tree gnome
Choose the setting that matches your routine. Each arrangement below starts with one finished character and objects you may already own.
1. The desk companion
Try the far corner of the desk, where you can see the gnome without moving it whenever you work. A plain pen pot or notebook nearby gives the colorful hat a quiet background. Turn the beard and nose toward your normal sitting position.
Repeat one color from the character in a small object, such as a red notebook or green pen pot. The gnome already has plenty of detail, so you can stop there. Keep the paper footprint outside the area used by your mouse and drinks.
2. The bookshelf Christmas corner
Place the character in an open section beside a short row of books. Choose the backdrop first: a plain book cover can make the white beard easier to see, while a busy row of patterned spines may compete with the tiny ornaments on the hat.
Keep the books you reach for most away from the display. If removing a book would disturb the gnome, leave a gap between them. Look at the shelf from across the room as well as close up; the tree outline should still be easy to recognize.
3. The entryway welcome
A little gnome can mark a Christmas corner on the surface where you arrive home. Try one side of a console, with a greeting card behind it and a separate place for keys. Use a tray only if its flat area accommodates the project and its intended support.
Leave the front edge clear for bags and everyday movement. The arrangement should still work when someone puts down the post. One character and one card can feel more intentional than filling every empty space.
Before you choose the kit: a beginner’s reading checklist
A small Christmas decoration can involve several separate pieces. Judge the project by its instructions and construction, rather than assuming the finished size tells you the difficulty.
| Look at | What to find out | Why it helps |
|---|---|---|
| The tree-shaped hat | How the shape is made, which stitches are used and where counting matters | You can practise an unfamiliar technique before beginning the main piece. |
| The beard and body | How each section is constructed and joined | You can understand the assembly order before closing openings or fastening off. |
| The star and colorful details | Whether they are crocheted, supplied separately or made another way | You can check the materials and attachment steps instead of guessing from the photo. |
| The base | How the completed character is intended to rest or be supported | You can plan a display that suits the actual construction. |
| The instructions | Language, format, access method and US or UK crochet terminology | You can check that you will be able to follow the project before ordering. |
Check the packing list separately from the finished photograph: yarn, hook, needle, stuffing and decorations should each be confirmed for the selected option. Forfunly’s gnome listing is a DIY kit; the completed character in the image is not included. The page does not currently provide a verified full packing list or finished measurements, so confirm these with Forfunly before buying.
If this is your first seasonal project, our guide to choosing your first Christmas crochet kit offers a broader starting checklist.
From project bag to Christmas corner
Once you have the correct instructions, read through the project and group the materials by stage. Keep small decorative parts together so they are ready when the pattern calls for them. Practise unfamiliar stitches on a separate sample, using the terminology in your guide.
Follow the stated assembly order. If a part looks uneven, check its stitch count and construction before attaching the next section. Keep your original display plan nearby, but avoid changing the pattern’s proportions or adding internal supports simply to fit a space.
When the piece is finished, try it in the intended location with the support specified for that design. Check its position from where you will usually see it, then use the surrounding objects normally: open the notebook, take out a book or put down your keys. Adjust the arrangement if the character gets in the way.
Take a quick photo at that everyday viewing angle. It helps you spot a hidden beard, a busy background or a star disappearing against a book cover. Often, moving one nearby object is all the styling you need.
A few questions before you begin
Is a tree gnome a good first crochet project?
It depends on the exact pattern and the support you need. Check the required stitches, shaping and attachments, and ask to see an instruction sample if available. A detailed character may involve more assembly than its small size suggests.
Can I use the spiral tree on a desk instead?
Its reference image shows a hanging design. If you want it near your desk, confirm the hanging method and plan an appropriate support for suspending it. Choose a design intended for tabletop use if you want a piece that rests on the surface.
What if I only finish one decoration this Christmas?
One finished piece is enough for a complete little display. Let it have its own corner this year; you can add another handmade character in a future season.
Choose the corner you want to brighten, then choose the project you want to spend time making. Explore the Forfunly Christmas collection for ideas, or visit Forfunly on YouTube for finished-character inspiration.
FORFUNLY CROCHET JOURNAL · HANDMADE GIFTS AND DECOR
What would you like to make next?
- Christmas Crochet Ornaments: Tree or Tabletop? — Choose a place for your character, then check hanging points, support and scale.
- A Little Crochet Gingerbread Gift: Three Ways to Wrap It for Christmas — Choose a box, bag or card-and-parcel presentation for someone specific.
Explore Handmade Gifts and Decor · Browse all crochet guides