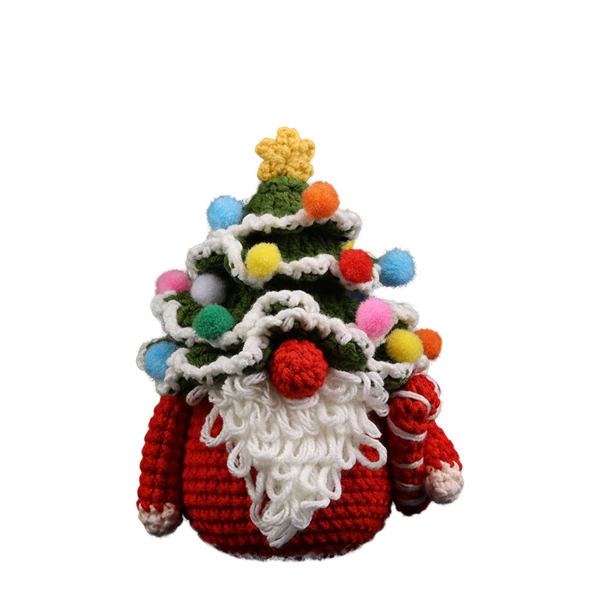
Christmas Crochet Ornaments: Tree or Tabletop?
A little handmade Christmas can fit on a branch, a bookshelf or the corner of your desk.
You have found a crochet character you love. Now picture where you will see it every day: tucked between the branches of your Christmas tree, beside your books, or waiting on the entryway table when you come home.
That small decision helps you choose a project. A tree ornament needs a secure way to hang and enough room around its shape. A tabletop character needs support and a spot where it will stay in place. The cutest photograph alone cannot answer both questions.
If you are choosing your first Christmas crochet ornament, start with its future home. Here is how to plan a display that suits your space, then choose a project you will enjoy making.
First, choose a place for your crochet Christmas decoration
You do not need to decorate a whole room. One character in a place you use daily can be enough. Choose a specific spot before comparing designs.
| Your space | A display to try | Check before choosing |
|---|---|---|
| A Christmas tree | One character facing out from a branch | Hanging loop, attachment, branch support and space around the outline |
| A desk or study corner | One character beside books or a pen pot | Stable support and enough clear working space |
| A bookshelf | A character against a simple background | Shelf height, visible details and how the piece stays in position |
| An entryway table | A small welcome display away from keys and bags | A position where the character will not be knocked over |
| A small room without a full tree | A supported shelf display, or an ornament on a suitable stand | Whether the support suits the piece and is secure in that location |
A useful starting point: finish the sentence “I want to see this beside ___.” A real location gives you a better guide than buying several designs and finding a place for them later.
For the tree: check how it hangs, then how it looks
A hanging ornament is viewed differently from a character held in your hand. Branches can hide its face, a loop can let it turn sideways, and a wide outline can catch on nearby decorations.
Look at the attachment
Check whether the design includes a hanging loop and how that loop is attached. A loop visible in a styled product photograph does not tell you whether the cord is included in the kit or how you should secure it. Follow the instructions for your exact design, and confirm any missing detail before ordering.
Do not lift a finished character by its hat, wing or scarf unless that part was designed as the hanging attachment. If the pattern does not provide a hanging method, ask for advice rather than improvising an attachment through an ornamental detail.
Try the actual branch
When the piece is finished, support it with your hand as you place it on the branch. Gradually release that support and check whether the branch bends, the character slips or the face turns away. Move to a more suitable branch if needed; there is no single weight limit that fits every tree and decoration.
Leave a little open space around the character. A winged design needs room at the sides, while a tall hat needs clearance above. Step back to your normal viewing position: can you still see the face, or is it buried in greenery?
For a simple arrangement, let the crochet character be the focal point. Repeat one of its colors in a nearby ornament, then leave the rest of that branch less crowded.


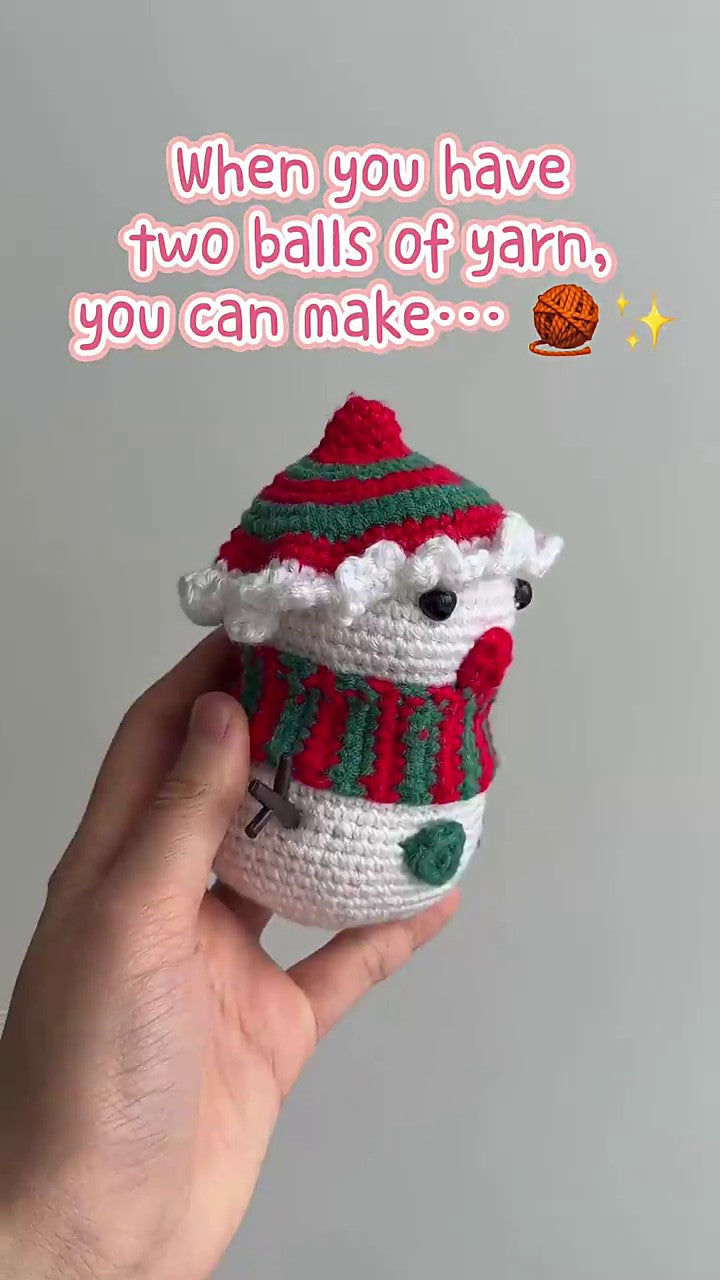
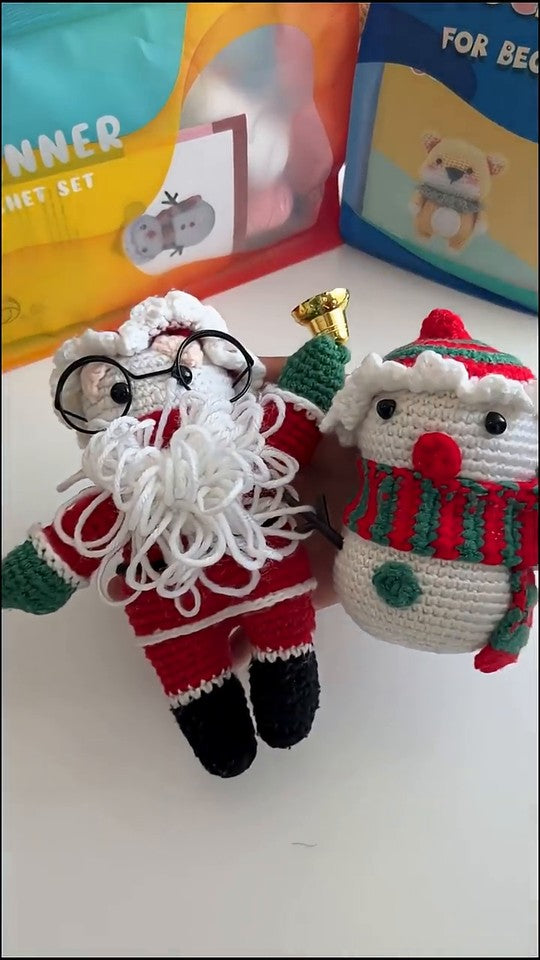
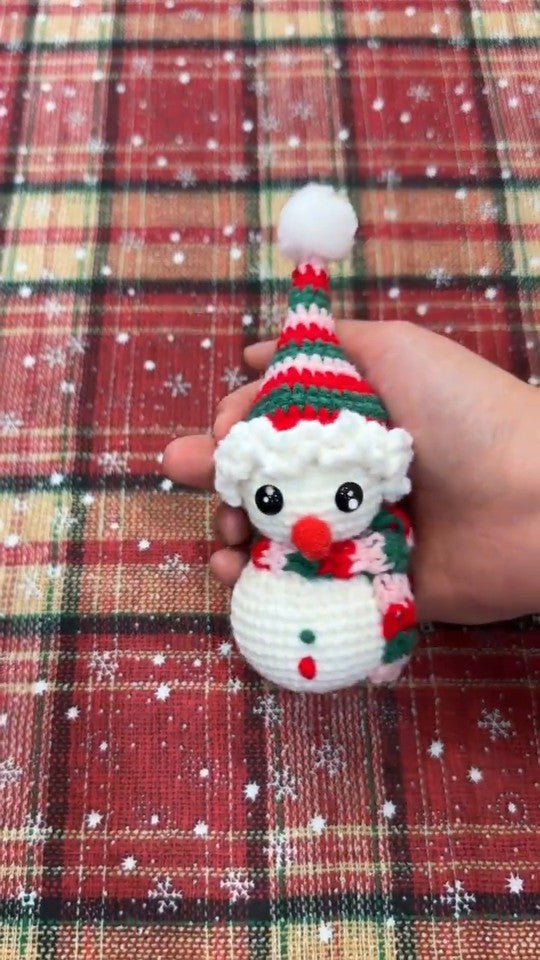
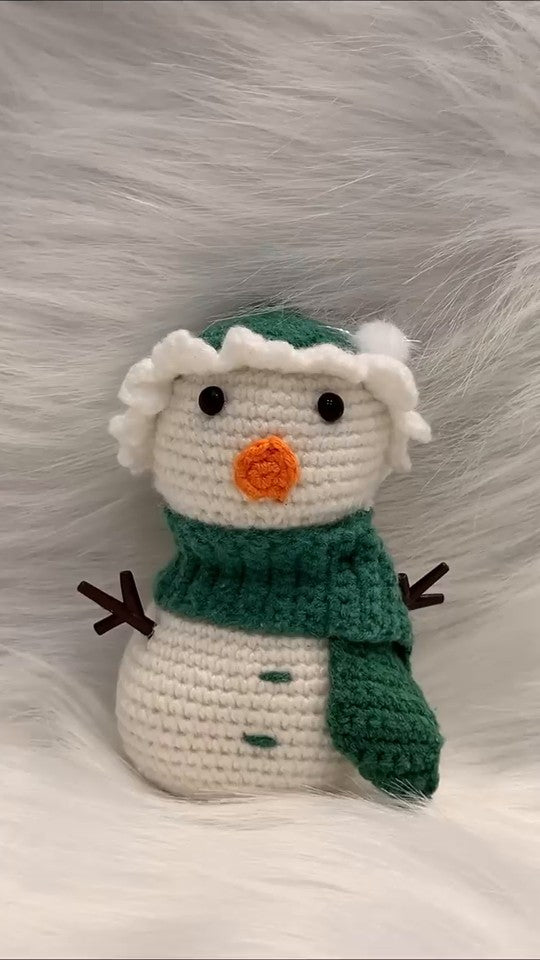
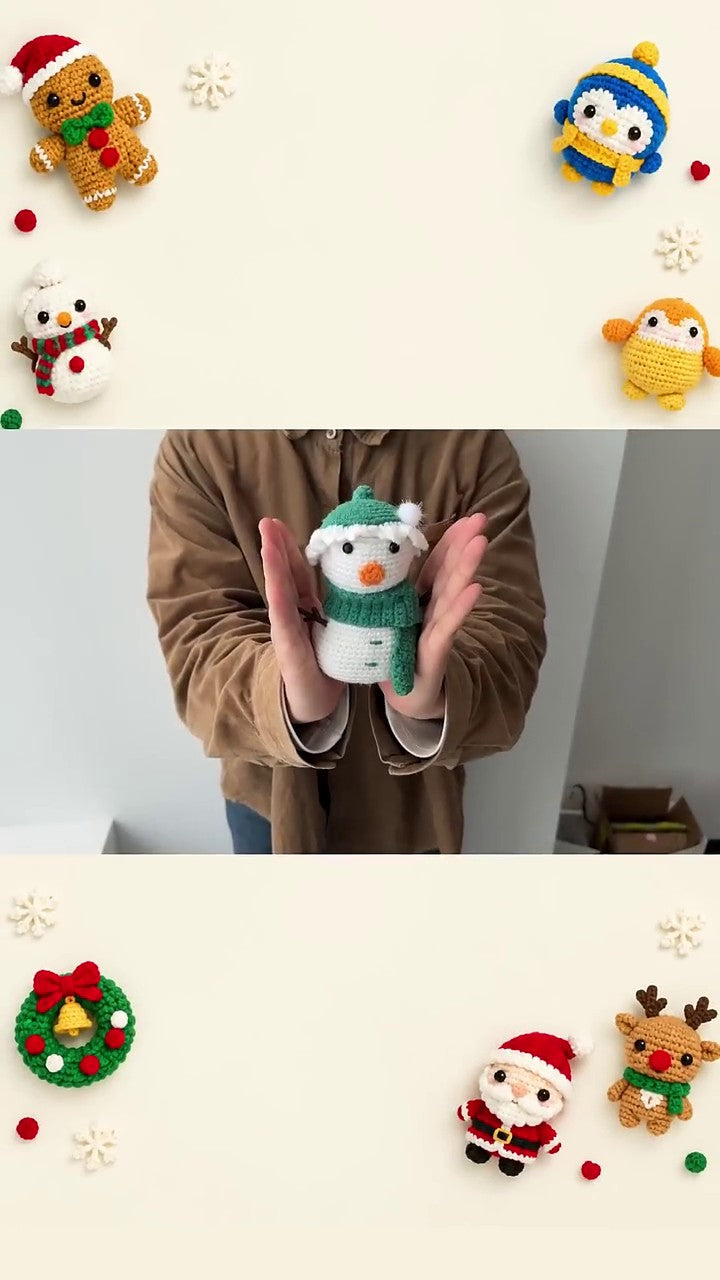
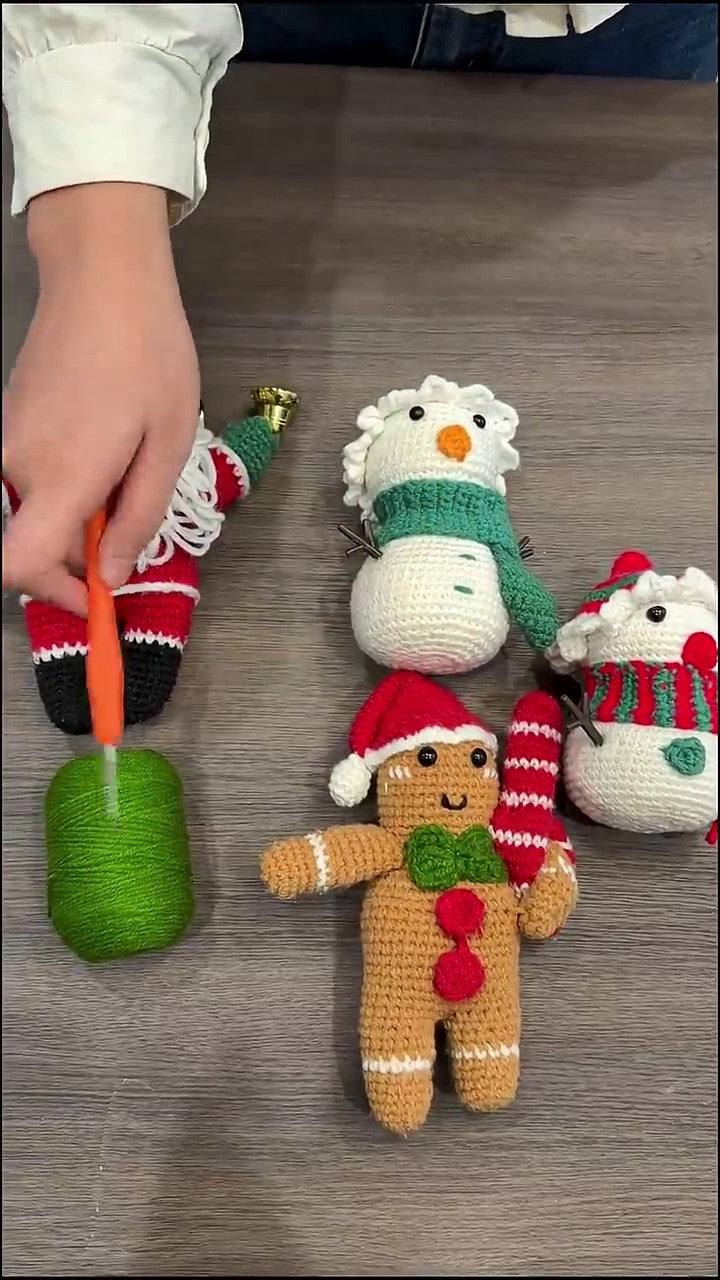
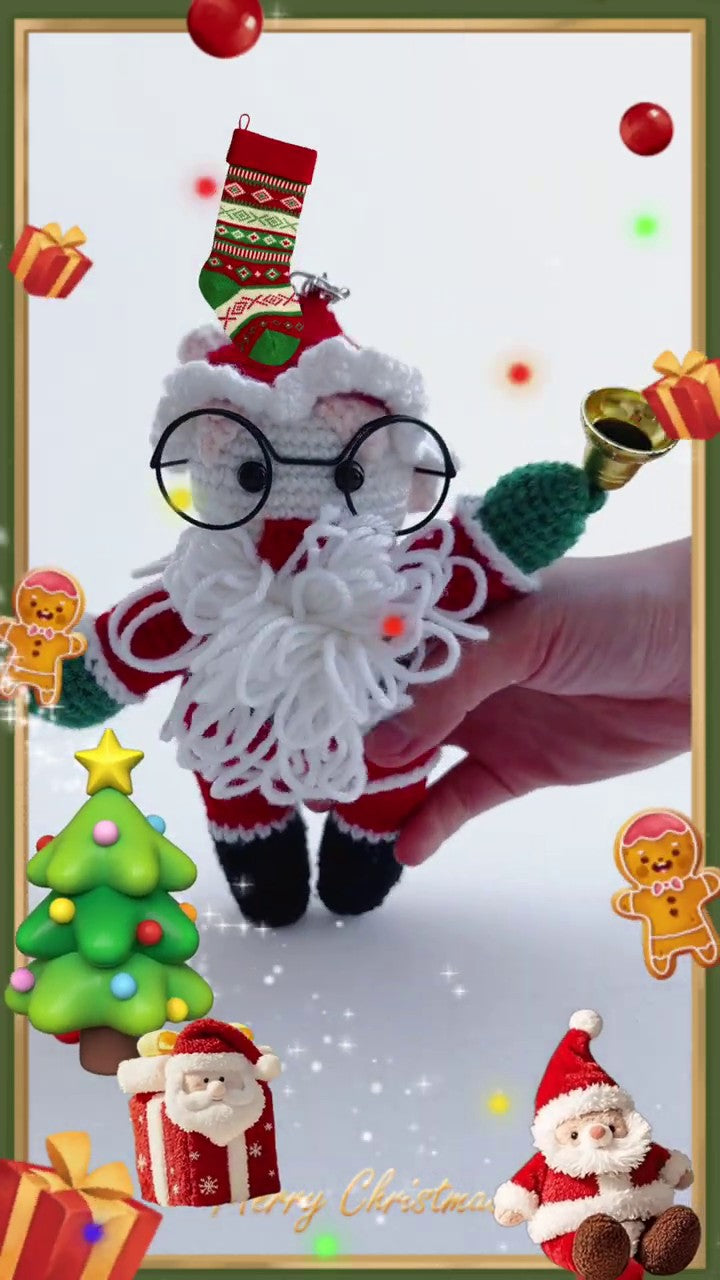
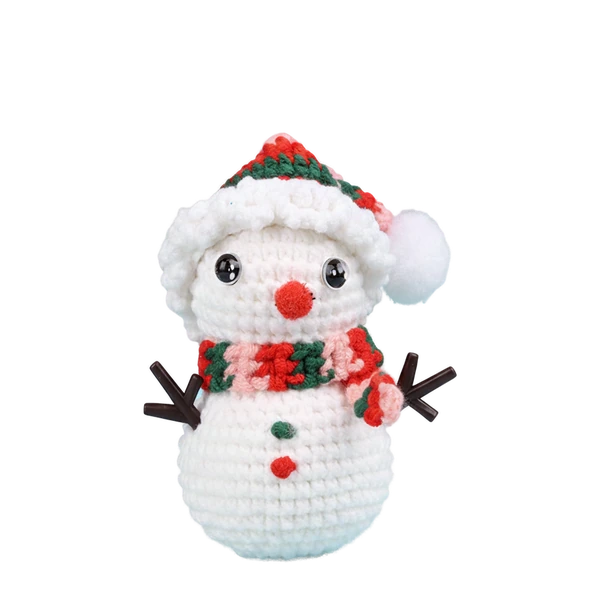
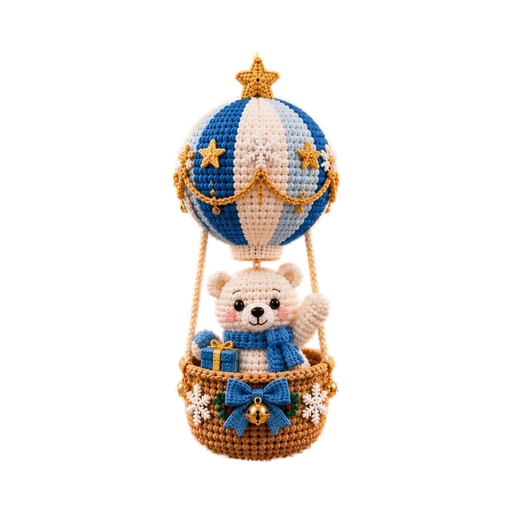
Two different snowman designs, shown in two Christmas settings. These scene images are separate from the winged kit designs below; each project needs its own hanging and support checks.
For a desk or shelf: plan the support
A tabletop display lets you see the stitches and small details at close range. It also gives you a Christmas corner without needing a full tree.
Start with a clear, level surface and check how the finished piece rests. A rounded body or narrow base may need support; a photograph of a character standing in a styled scene does not establish that it stands independently. Use the display method intended for the design. If it needs a suitable stand or backing, include that in your plan rather than adding extra stuffing to force it upright.
At a work desk, keep the display outside the space used by your keyboard, notebook and drinks. On a bookshelf, place it where its face stays visible and where removing a book will not pull it over.
Try one character, one backdrop and one repeated color. A red-hatted character beside a plain book spine can feel festive without a crowded arrangement. Check the scene at your usual sitting or standing height, not only through a camera close-up.
Check scale with a familiar object
A close-up can make a small ornament look like a substantial desk decoration. Before choosing a kit, look for the finished measurements, including any wings, hat or hanging loop that affects the space it needs.
If measurements are not listed, ask for them or request a photograph beside an ordinary mug or ruler. A mug helps you picture the piece in a room; a ruler gives a more precise reference. Neither a cropped photograph nor the size of the yarn in a materials shot reliably tells you the finished dimensions.
For your planned location, check three things: the space across the widest part, the clearance above the piece and the room needed for its support. This is especially useful for a narrow shelf or a small tabletop tree.
Two character styles to explore
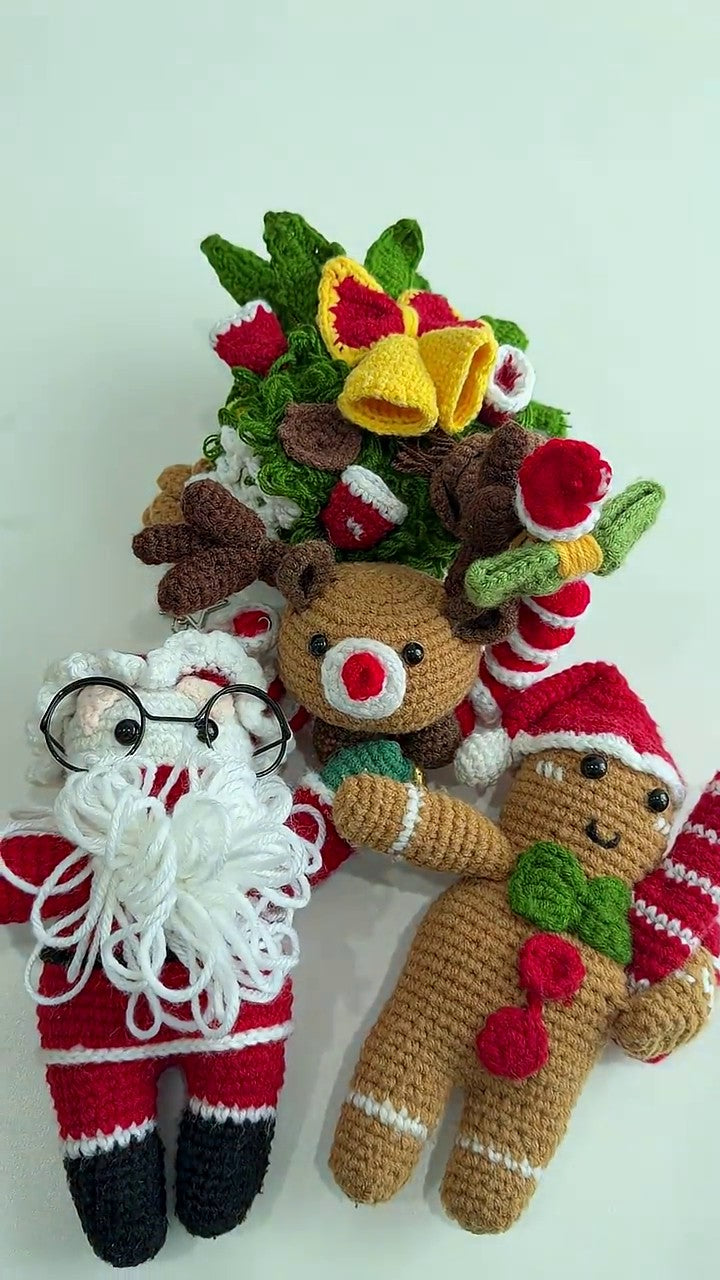
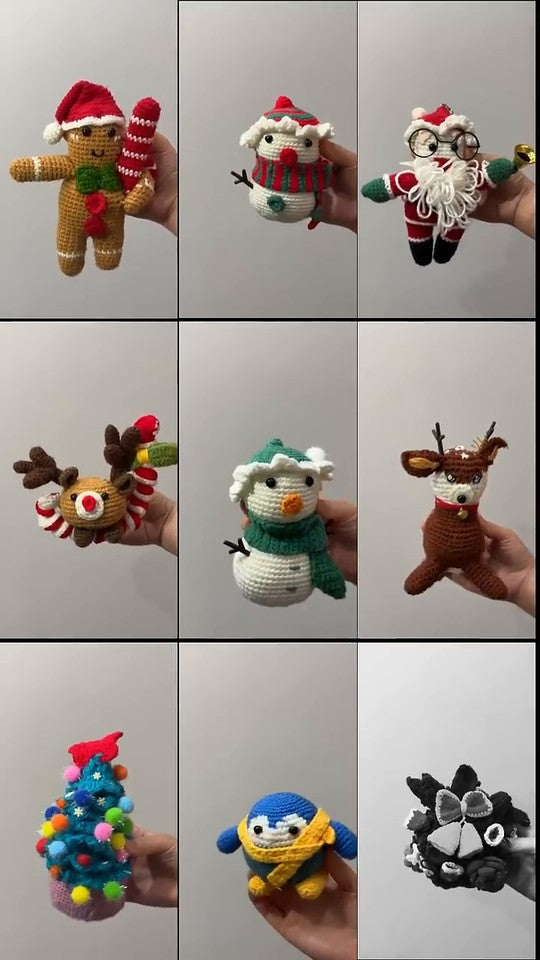
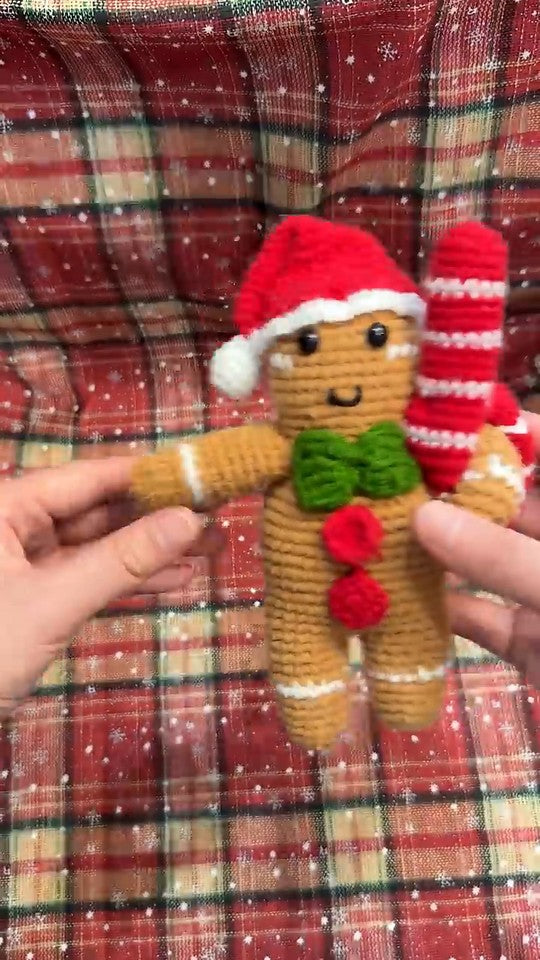
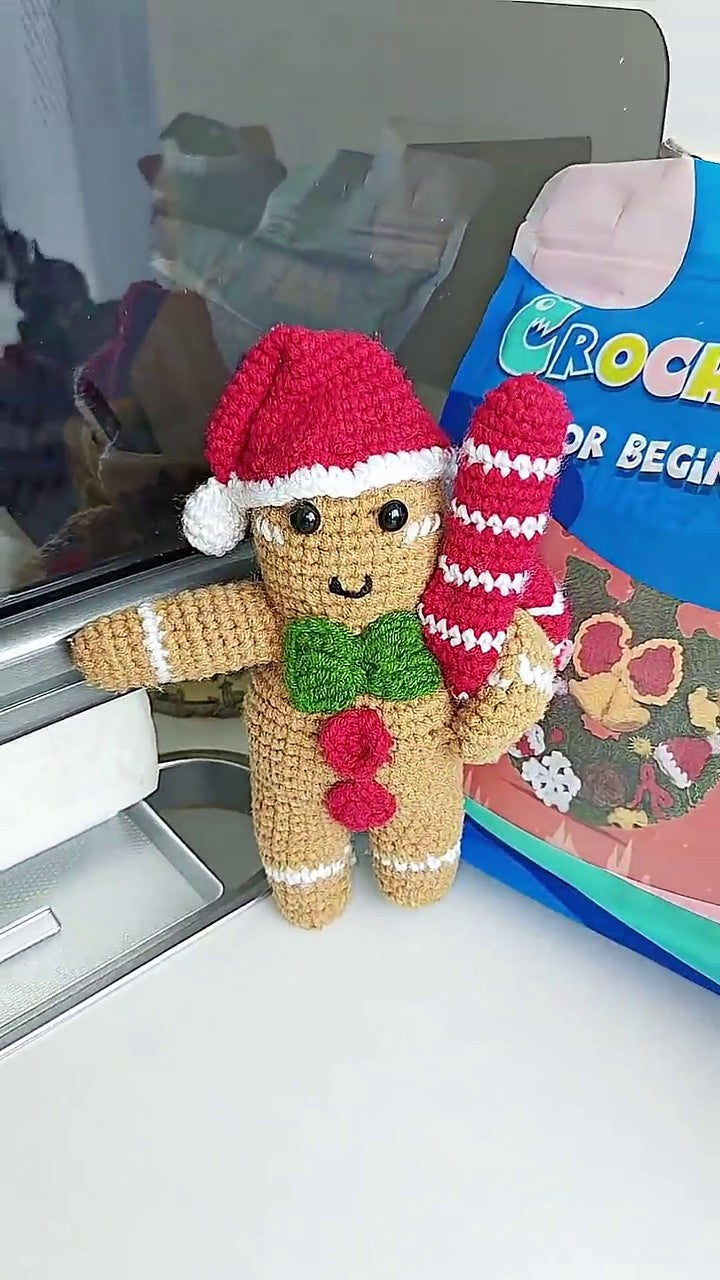
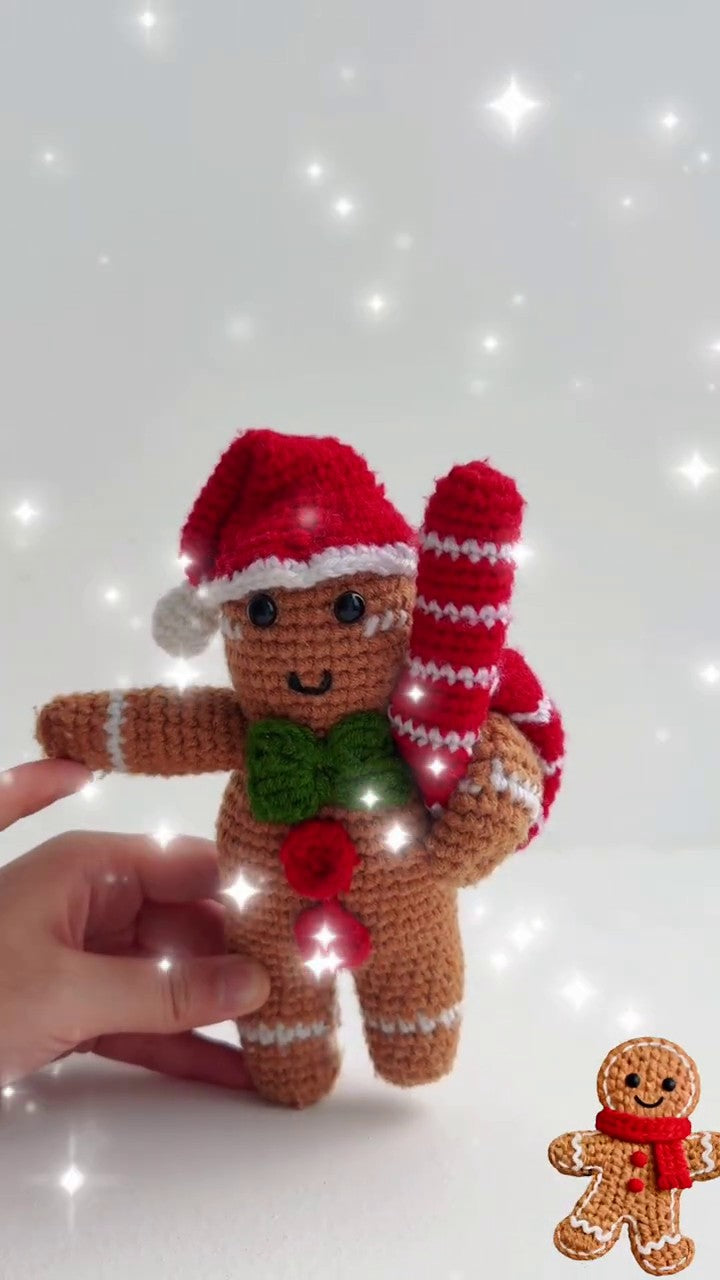
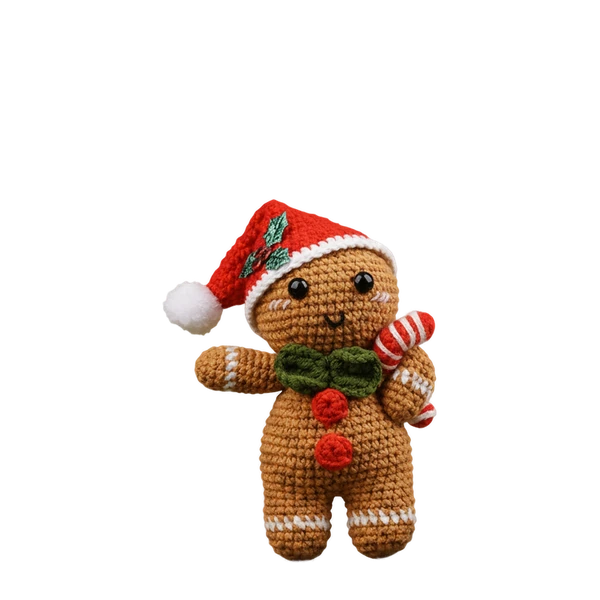
Forfunly’s Winged Gingerbread Christmas Crochet DIY Kit and Winged Penguin Christmas Crochet DIY Kit offer two different starting points for a Christmas display. Compare the official reference images for the outline and details you enjoy, then check the practical requirements of that exact project.


Official product images show the intended finished designs. Confirm dimensions, hanging materials and instructions for the selected kit.
A character with wings has a broad silhouette that needs room around it. Details such as a hat, scarf and separate decorative pieces also give you more to consider when reading the construction instructions.
If you are a beginner, do not assume a small ornament is the easiest project. Ask which stitches, color changes and separate attachments the pattern uses. Choose a project whose instructions and assembly you feel ready to follow, rather than choosing by finished size alone.
These product listings are DIY crochet kits: the completed characters in the photographs show the intended project, and the finished pieces are not included. Check the selected kit’s materials, tools and instruction access before buying. For a broader starting checklist, see how to choose your first holiday crochet project.
Make your first display a manageable project
Choose one character and one destination first. If it will hang on the tree, make checking the hanging method part of your project plan. If it will live on a shelf, decide how it will be supported before you start.
Practise unfamiliar stitches separately, and read through the assembly before making the parts. Keep the pattern’s construction order: some details may need to be fitted before an opening is closed. Leave yourself room to pause and return to the project; you do not need to finish it in a single evening for it to become part of Christmas.
For a little finished-project inspiration, visit Forfunly on YouTube. Short reveal videos can help you notice shapes and character details. Use the instructions for your chosen kit when you need the making steps.
A few questions before you choose
Can the same crochet character work on a tree and a desk?
Sometimes, if the design supports both uses. Check the hanging attachment and the tabletop support separately. Being able to hang does not mean a piece stands on its own, and a freestanding character does not automatically have a suitable hanging point.
What if I do not have a Christmas tree?
A shelf, study corner or entryway can still hold a small Christmas display. Choose a piece with a suitable way to rest or hang in that location, then keep the surrounding arrangement simple.
Do I need to make a matching set?
No. One finished character is a complete place to start. You can repeat a color in something you already own, then add another handmade piece in a later project if you want to.
Picture the spot, choose your little character, and make room for it. Explore the Forfunly Christmas crochet collection when you are ready to compare designs.
FORFUNLY CROCHET JOURNAL · HANDMADE GIFTS AND DECOR
What would you like to make next?
- A Crochet Christmas Tree for Your Desk: Start with a Little Gnome — Plan a little Christmas display for a desk, bookshelf or entryway.
- A Little Crochet Gingerbread Gift: Three Ways to Wrap It for Christmas — Choose a box, bag or card-and-parcel presentation for someone specific.
Explore Handmade Gifts and Decor · Browse all crochet guides